19 Easy Medium Length Updos for a Stylish Everyday Look
Medium hair sits in a tricky spot. It’s too long to ignore, yet sometimes too short for the updos you see online. The good news is that easy medium length updos exist, and many of them take only a few minutes. You just need the right styles and a few simple tricks.
This guide covers 19 everyday updos that actually work at this length. You’ll also learn how to pin hair properly, handle short layers, and choose a style that suits your hair type.
What Counts as Medium-Length Hair?
Medium-length hair usually falls anywhere from your chin to a few inches below your shoulders. Lobs and shoulder-length cuts both count.
This length is great for updos because the hair is long enough to gather but light enough to stay up without much effort. The main challenge is the shorter pieces around the face and neck, and we’ll deal with those later in this guide.
What You Need Before You Start
You don’t need a big kit. Most of these styles use a few bobby pins that match your hair color, some small elastics, and a claw clip that suits your hair’s thickness. Dry shampoo or a texturizing spray is also worth keeping nearby, along with a light hairspray for flyaways.
Freshly washed hair is often slippery, which is why updos tend to hold better on second-day hair. If your hair is clean, spray a little dry shampoo or texture spray at the roots and through the lengths before you start. It gives your hair the grip it needs.
How to Pin an Updo So It Stays
Most home updos fall apart because of pinning, not because of the style itself. The wavy side of a bobby pin should face your scalp, since those ridges help it grip. Slide the pin in, then push it back slightly in the opposite direction to lock it in place.
Each pin should catch a little hair from the bun and a little from your scalp. When you pin only the bun, it slides down within an hour. For spots that need extra hold, cross two pins in an X shape.
Quick Updos for Busy Mornings
These are the easiest styles on the list. Most need only one or two tools and a few minutes.
Claw Clip Twist
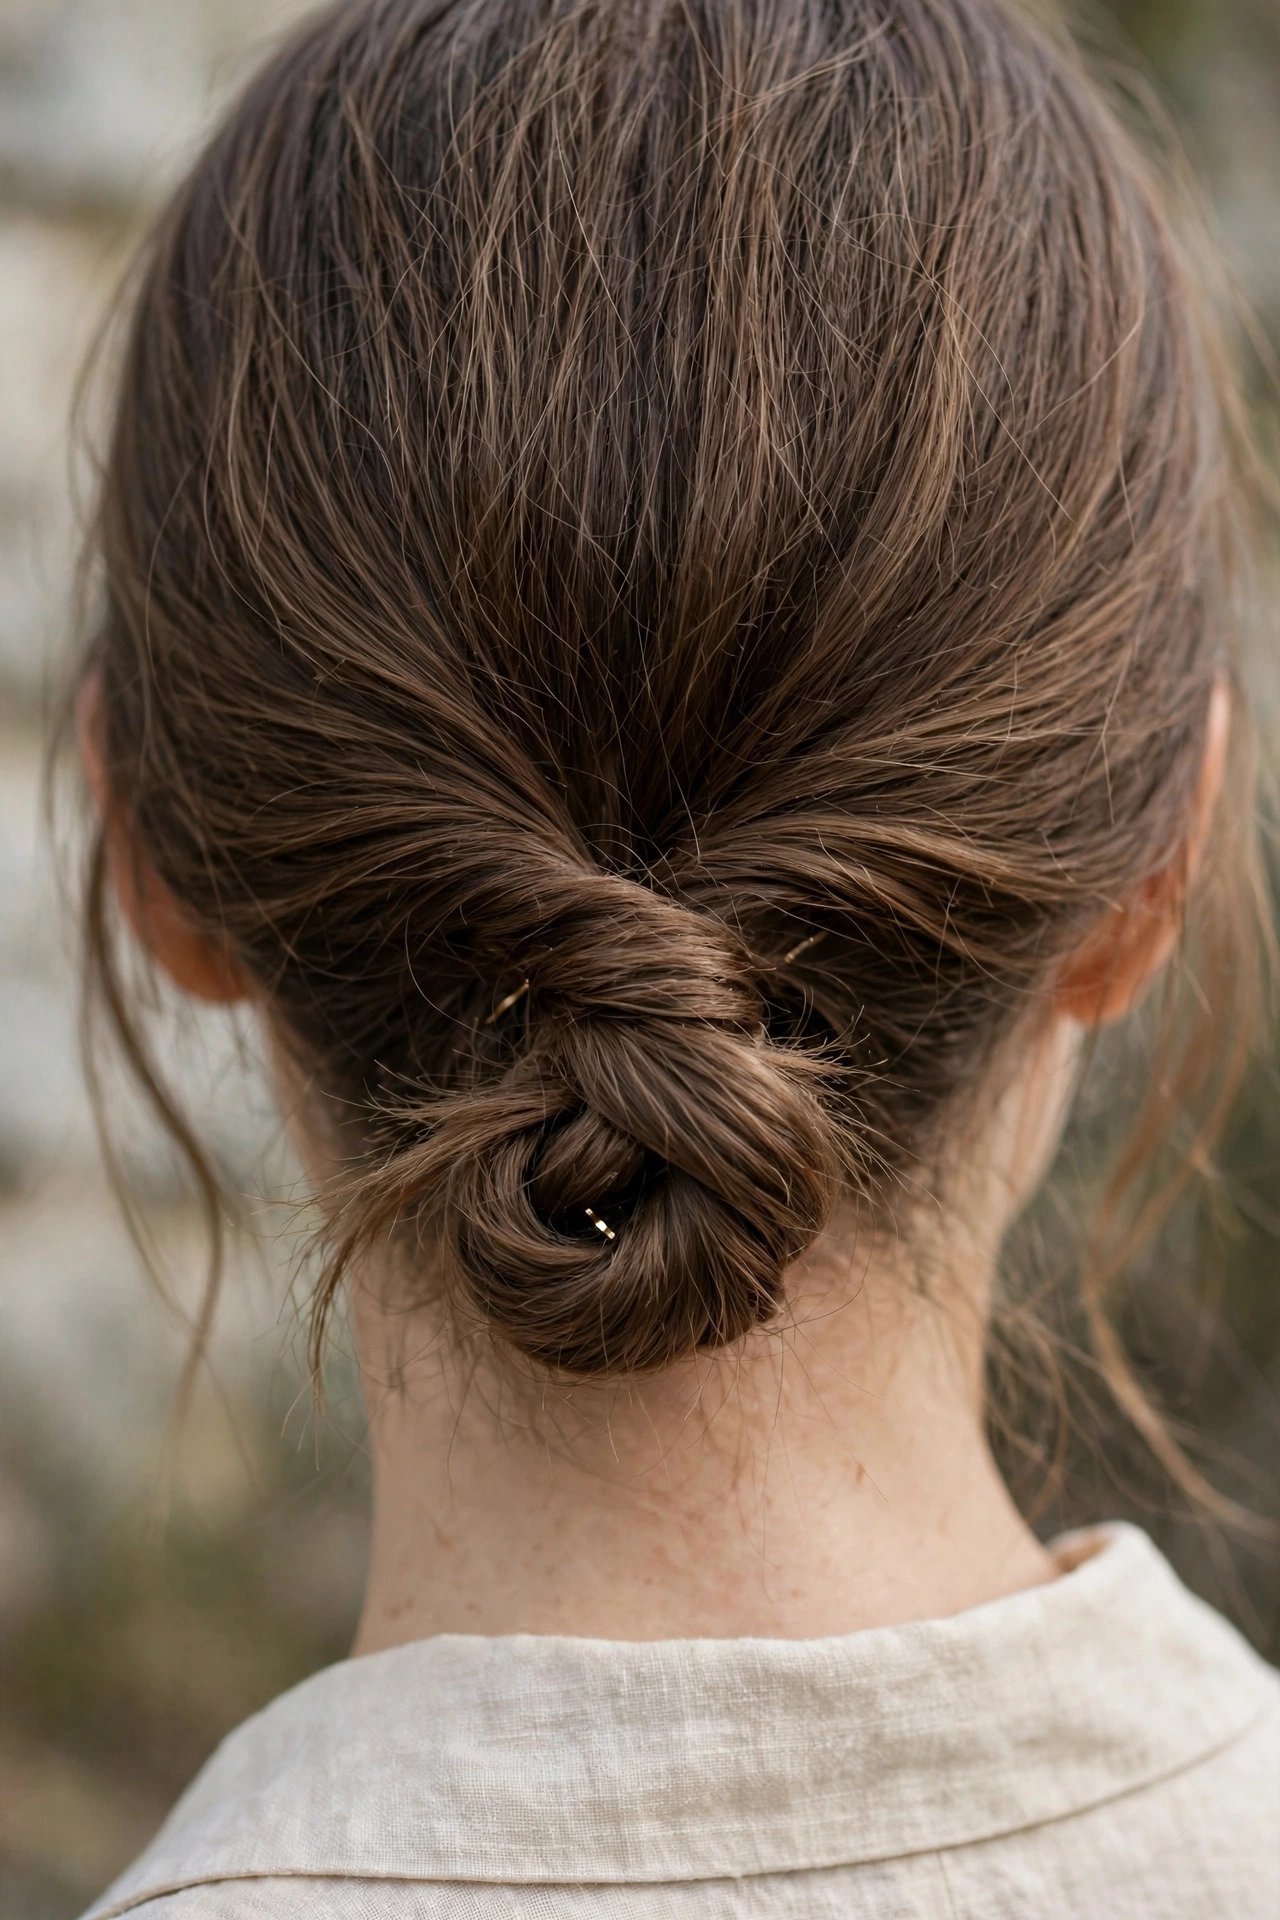
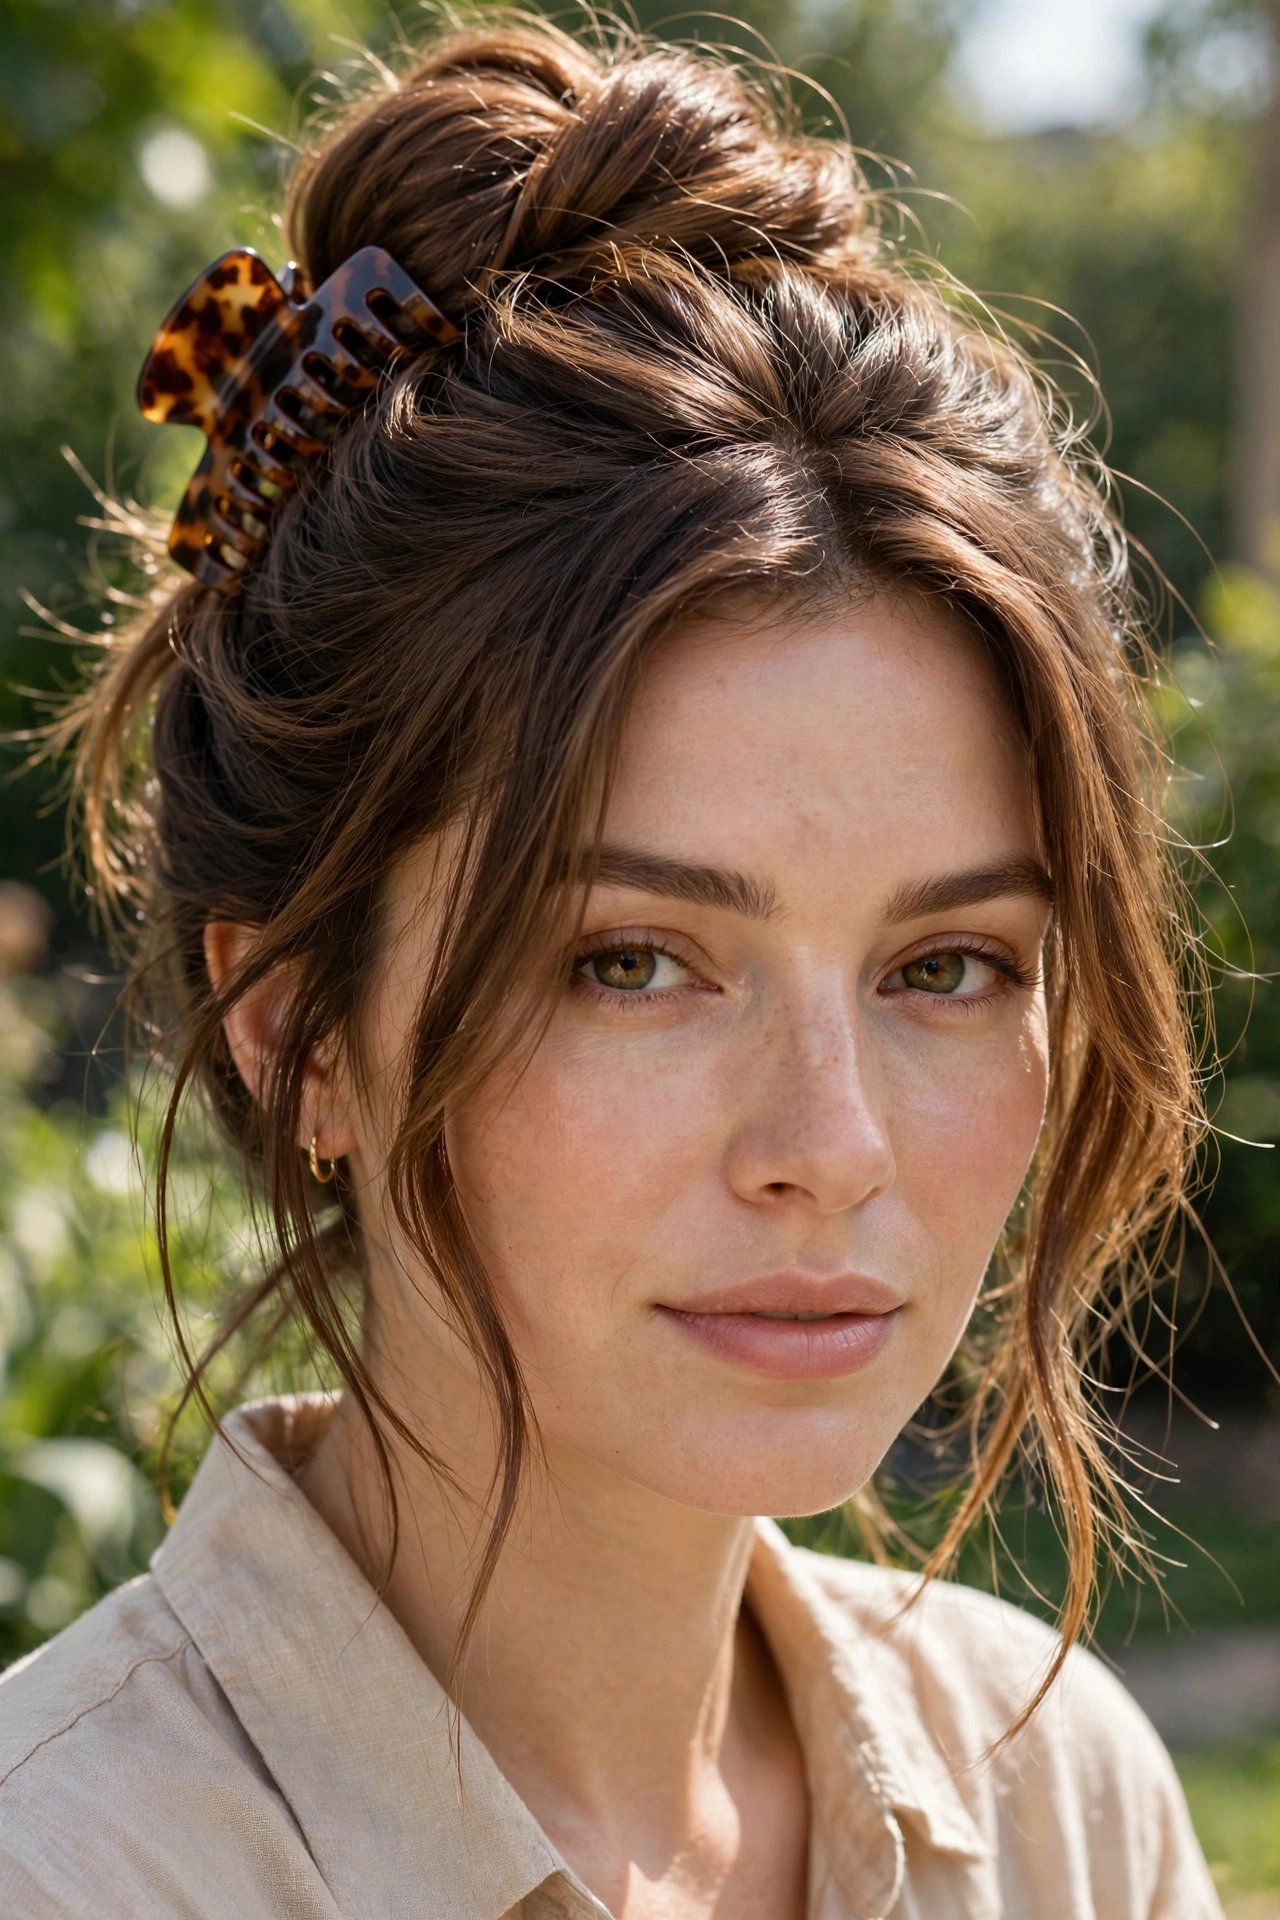
Many people with medium hair rely on this style, and it’s easy to see why. Gather your hair at the back of your head, twist it upward, and fold the ends down over the twist. A claw clip holds the whole thing in place. It works especially well on thick hair, and pulling out a few face-framing pieces makes it look softer.
Messy Top Knot

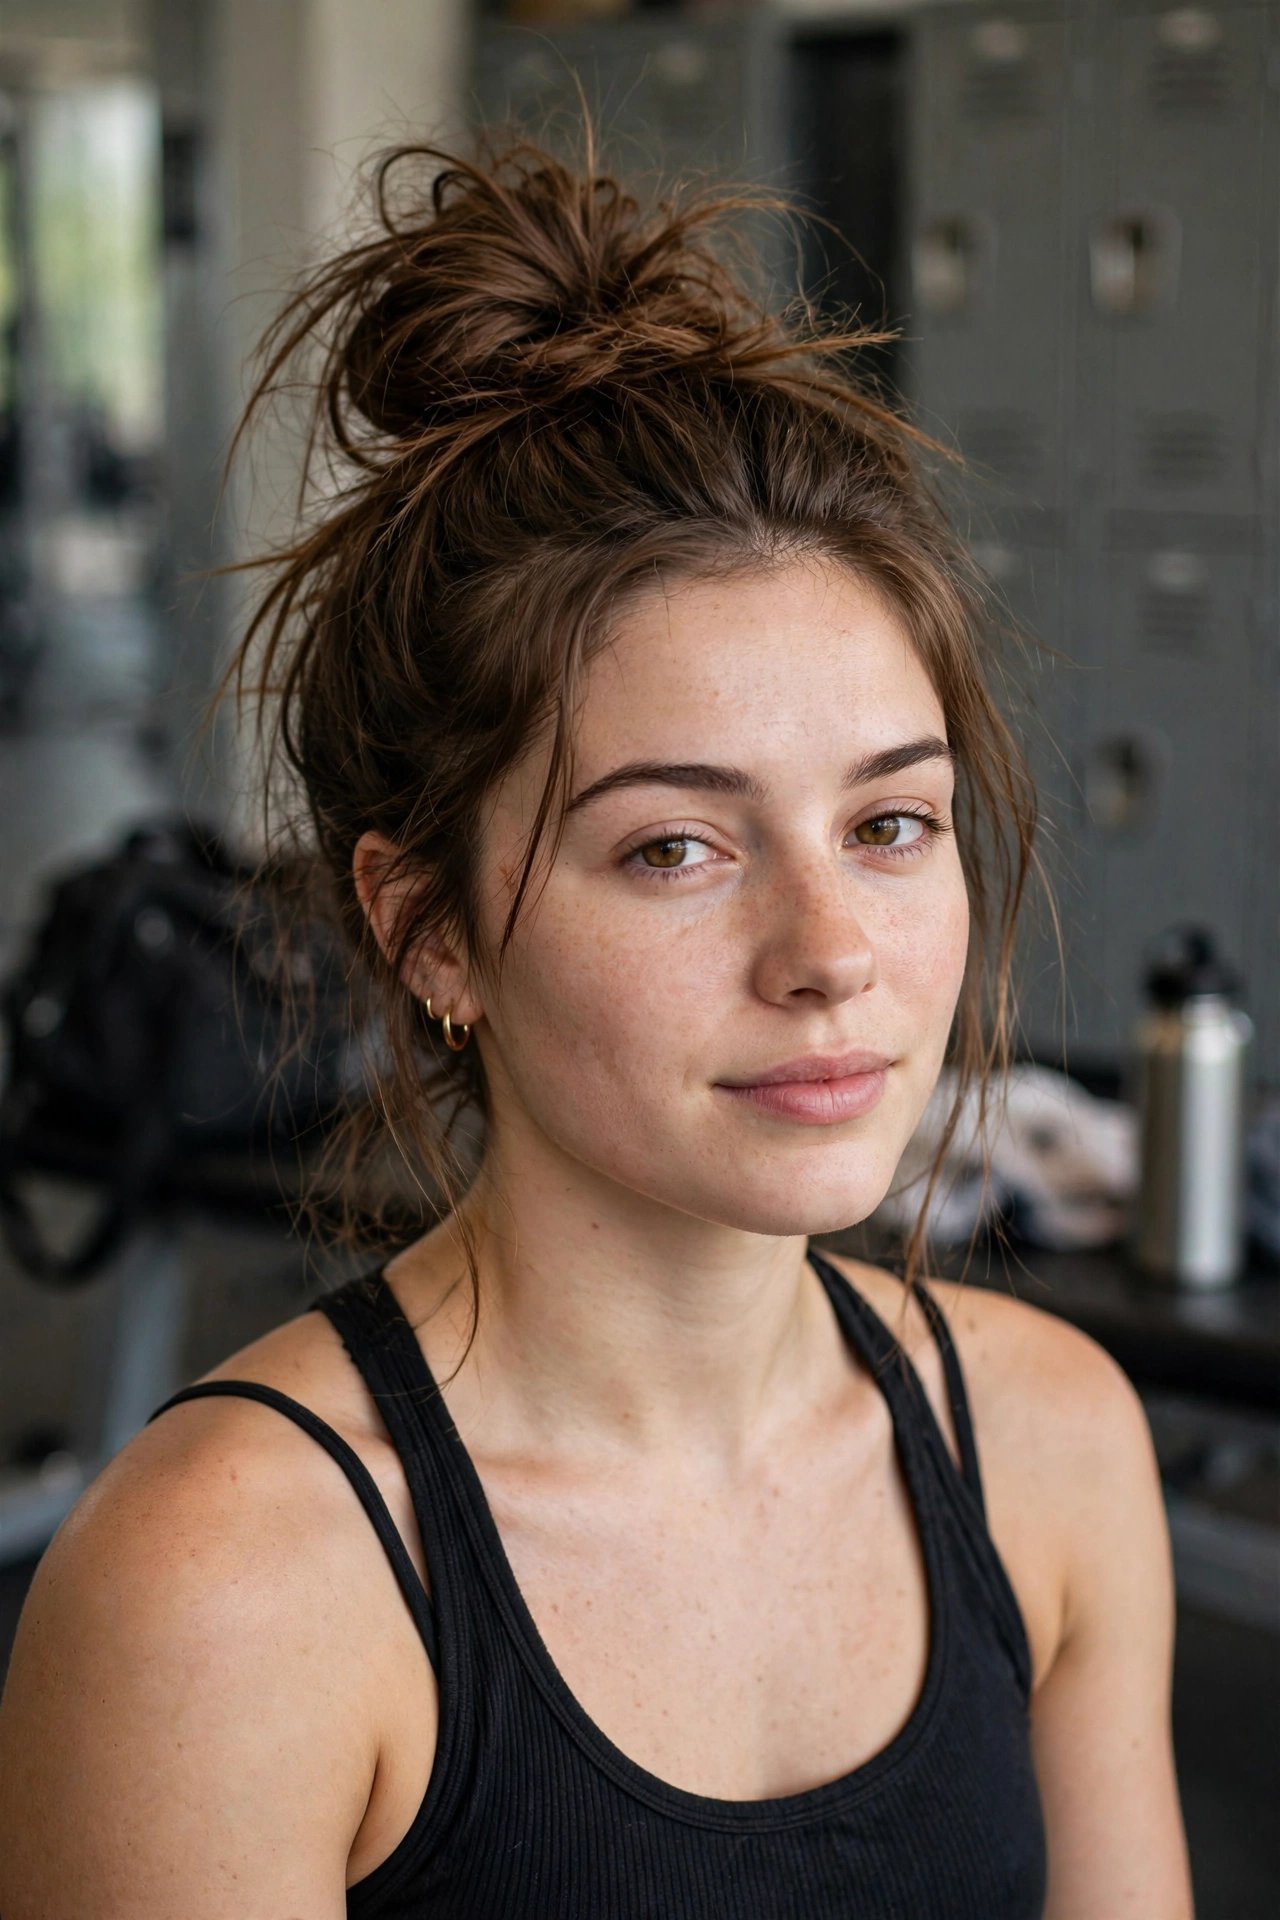
When your hair needs to stay off your neck, a top knot is hard to beat. Flip your head forward, gather your hair high on your crown, and tie a ponytail. Then twist the ponytail, wrap it around the base, and secure it with a second elastic or a few pins. A gentle tug at the edges makes the bun look fuller, which is handy for gym days and hot afternoons.
Knotted Low Bun
This one uses your own hair to create the shape, so you barely need pins. Split your hair into two sections at the nape and tie them together in a loose knot, just like the first step of tying shoelaces. If there’s enough length, tie a second knot. Tuck the ends under and pin them. Fine hair suits this style especially well.
Sleek Low Bun
For work or any day you want to look polished, the sleek low bun is a reliable choice. Brush your hair smooth, tie a low ponytail at the nape, and coil the twisted ponytail around the elastic before pinning it. A clean toothbrush with a little hairspray will smooth down flyaways. If your hair is fine, don’t worry about a small bun. It often looks more elegant than a large one.
Half-Up Top Knot
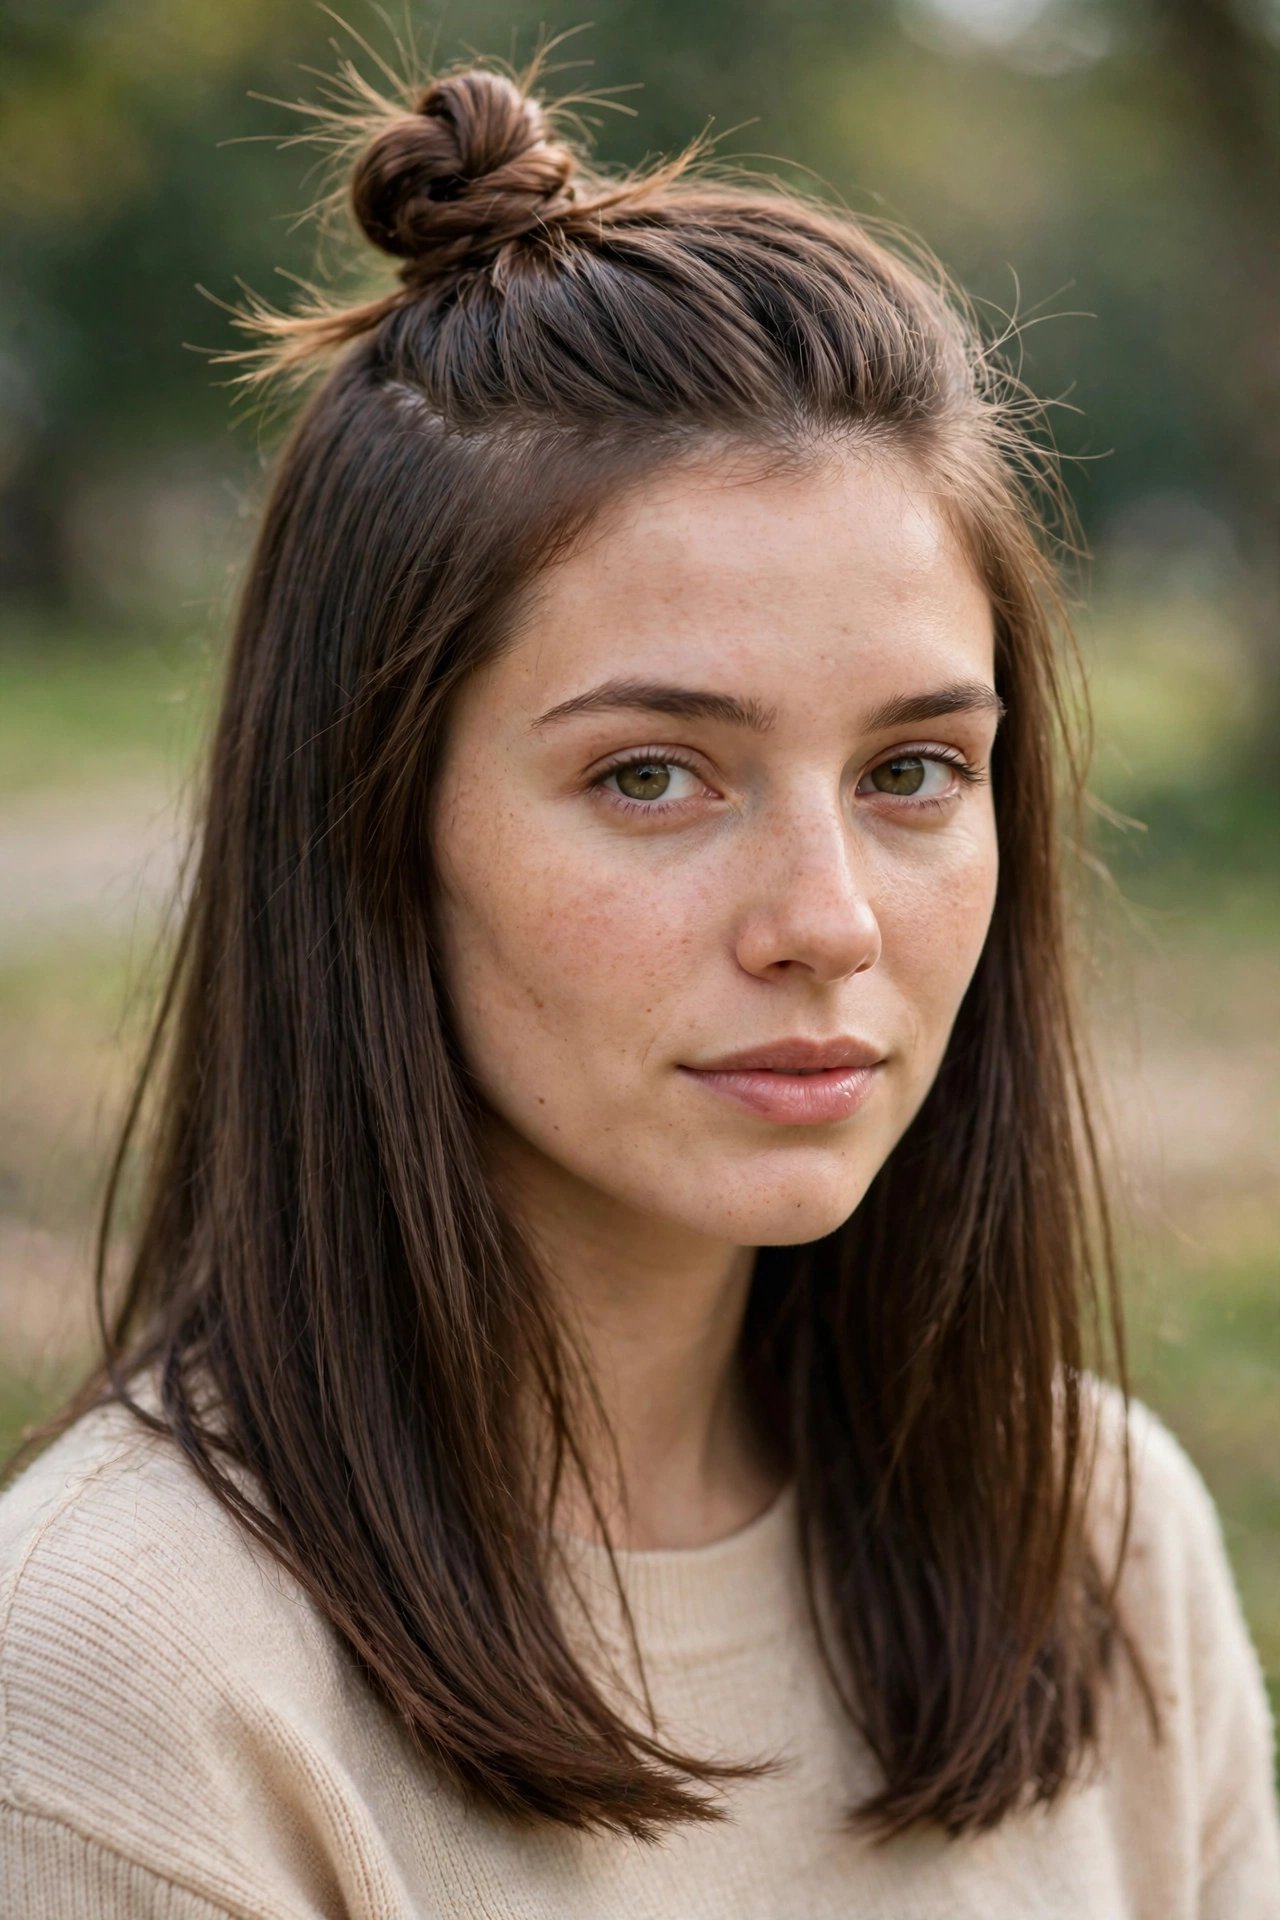
Sometimes you want your face clear while still showing off your length. Take the top section of your hair, from temple to temple, and tie it into a small ponytail on your crown. Twist it into a mini bun and pin it. This style is forgiving on second-day hair and works nicely on cuts that are growing out.
Headband Tuck
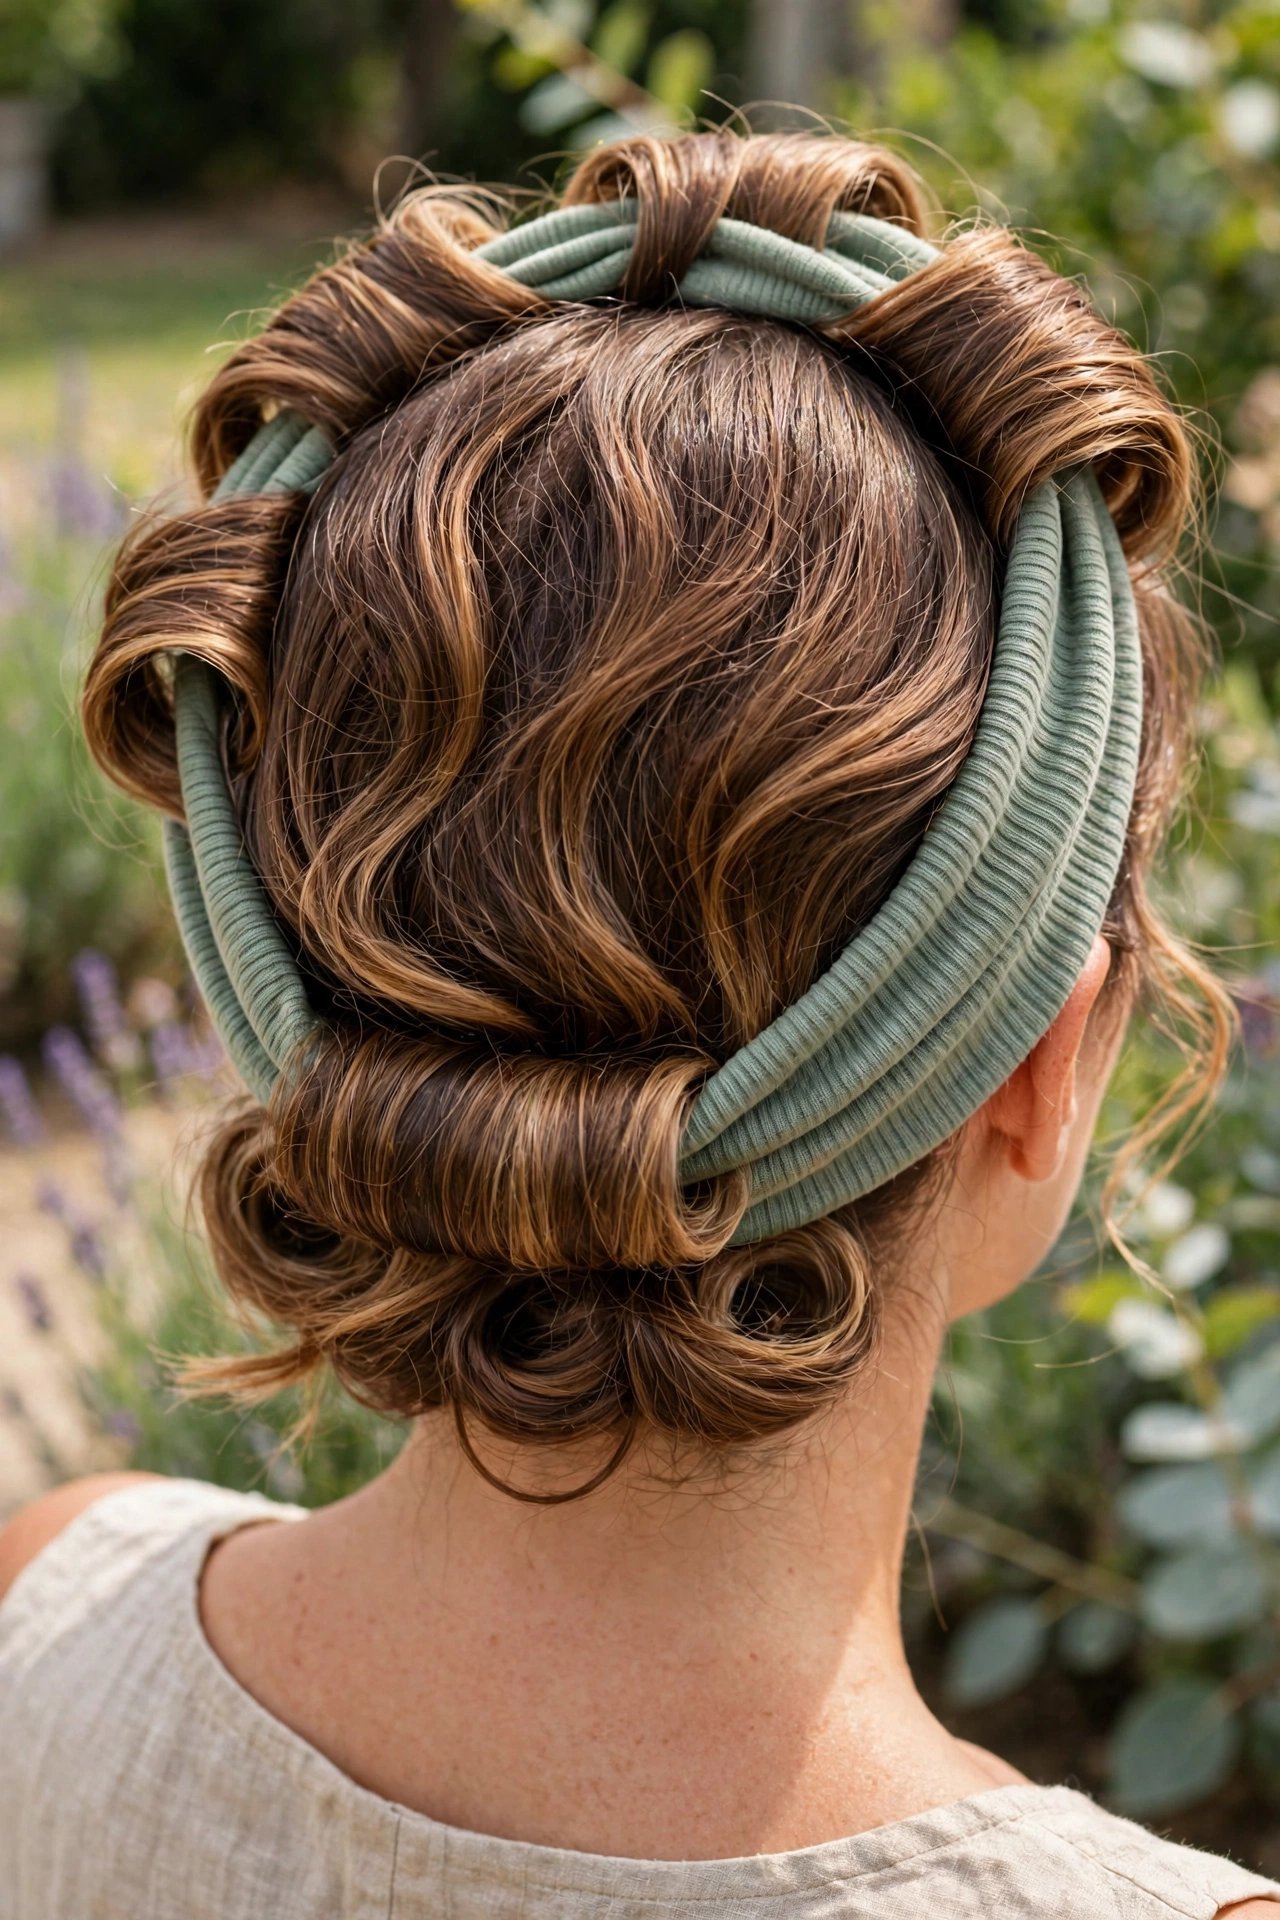
A stretchy headband does most of the work in this retro-style roll. Place the band around your head like a crown, then tuck small sections of hair up and over it at the back, working from one side to the other. Pin anything that pokes out. It’s a great option for beginners and wavy hair, and it keeps your neck cool in summer.
Topsy Tail Low Bun
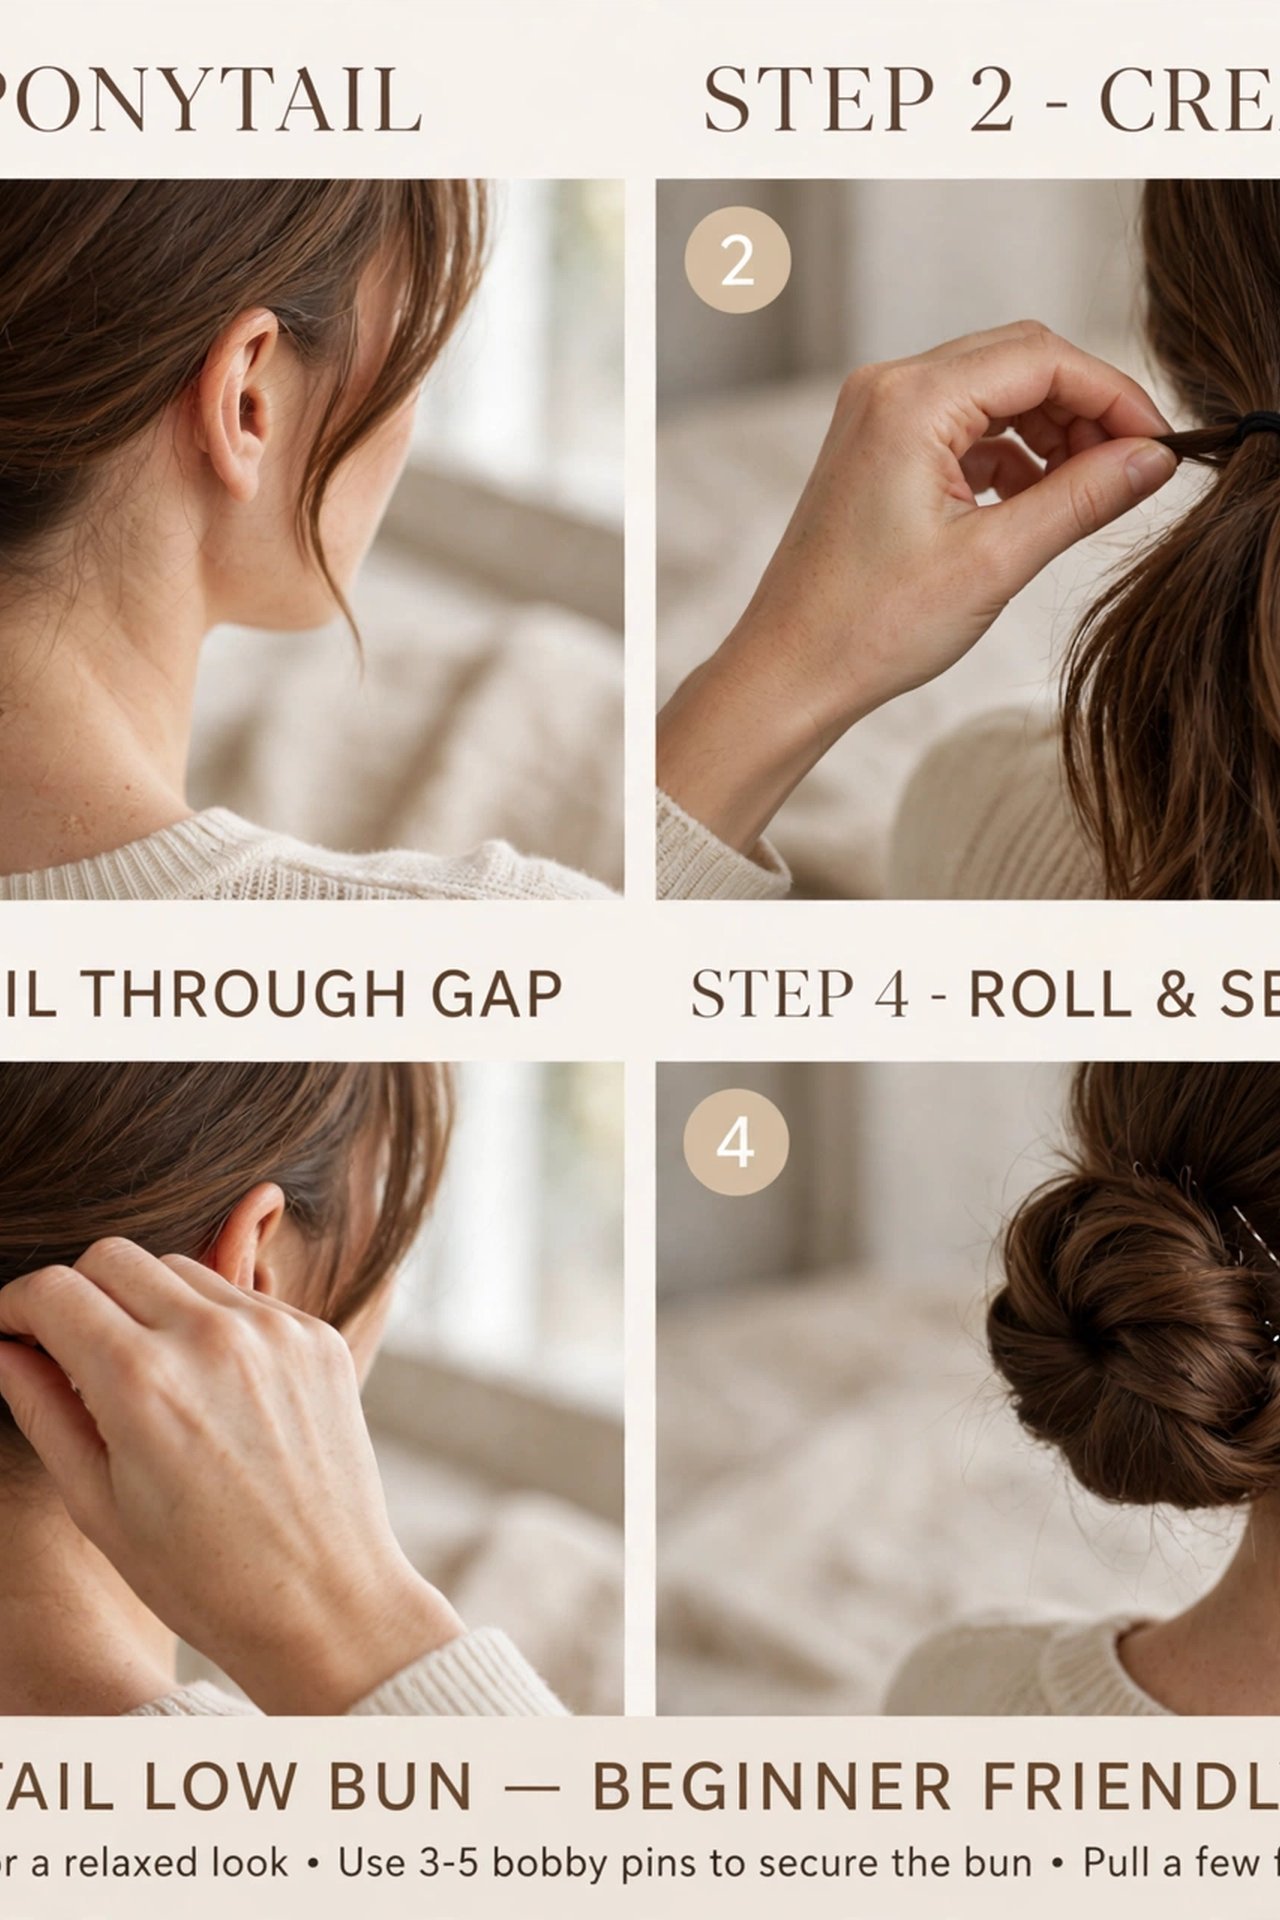
A simple flip turns a basic ponytail into something that looks more detailed than it is. Tie a loose low ponytail and make a small gap in the hair just above the elastic. Flip the ponytail up through that gap, then roll the ends toward it and pin them into a bun. It looks finished with very little skill needed.
Twisted Updos
Twists add shape without the practice that braids require. They also do a good job of hiding uneven layers.
Classic French Twist
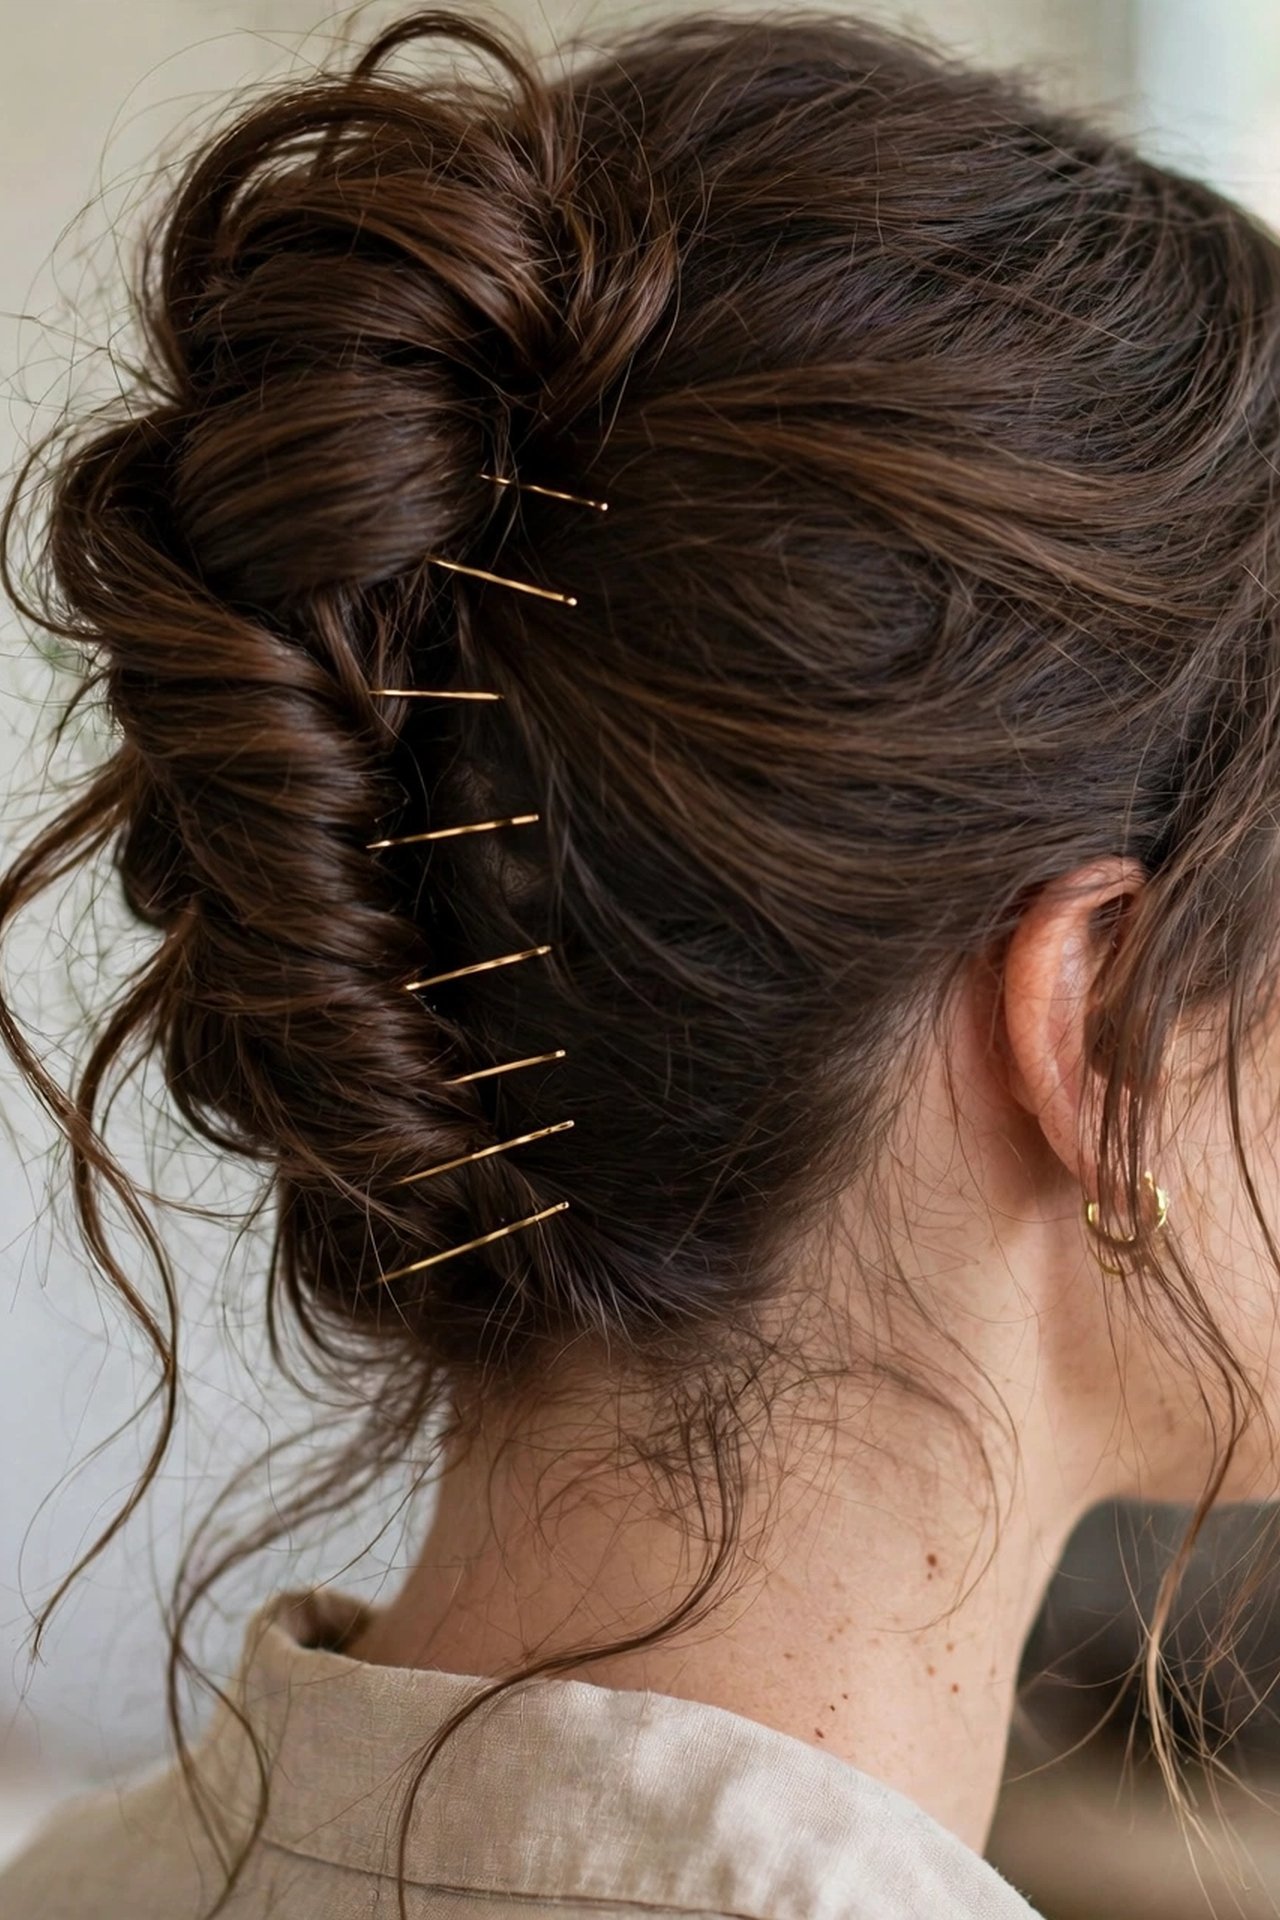
The French twist has a polished reputation, but a loose version is simple enough for everyday wear. Gather your hair to one side at the back of your head and twist it upward, rolling it inward toward the center. Tuck the ends into the roll and pin along the seam from bottom to top. It may take a few tries, but a slightly loose twist looks modern, so perfection isn’t the goal.
Twisted Low Chignon
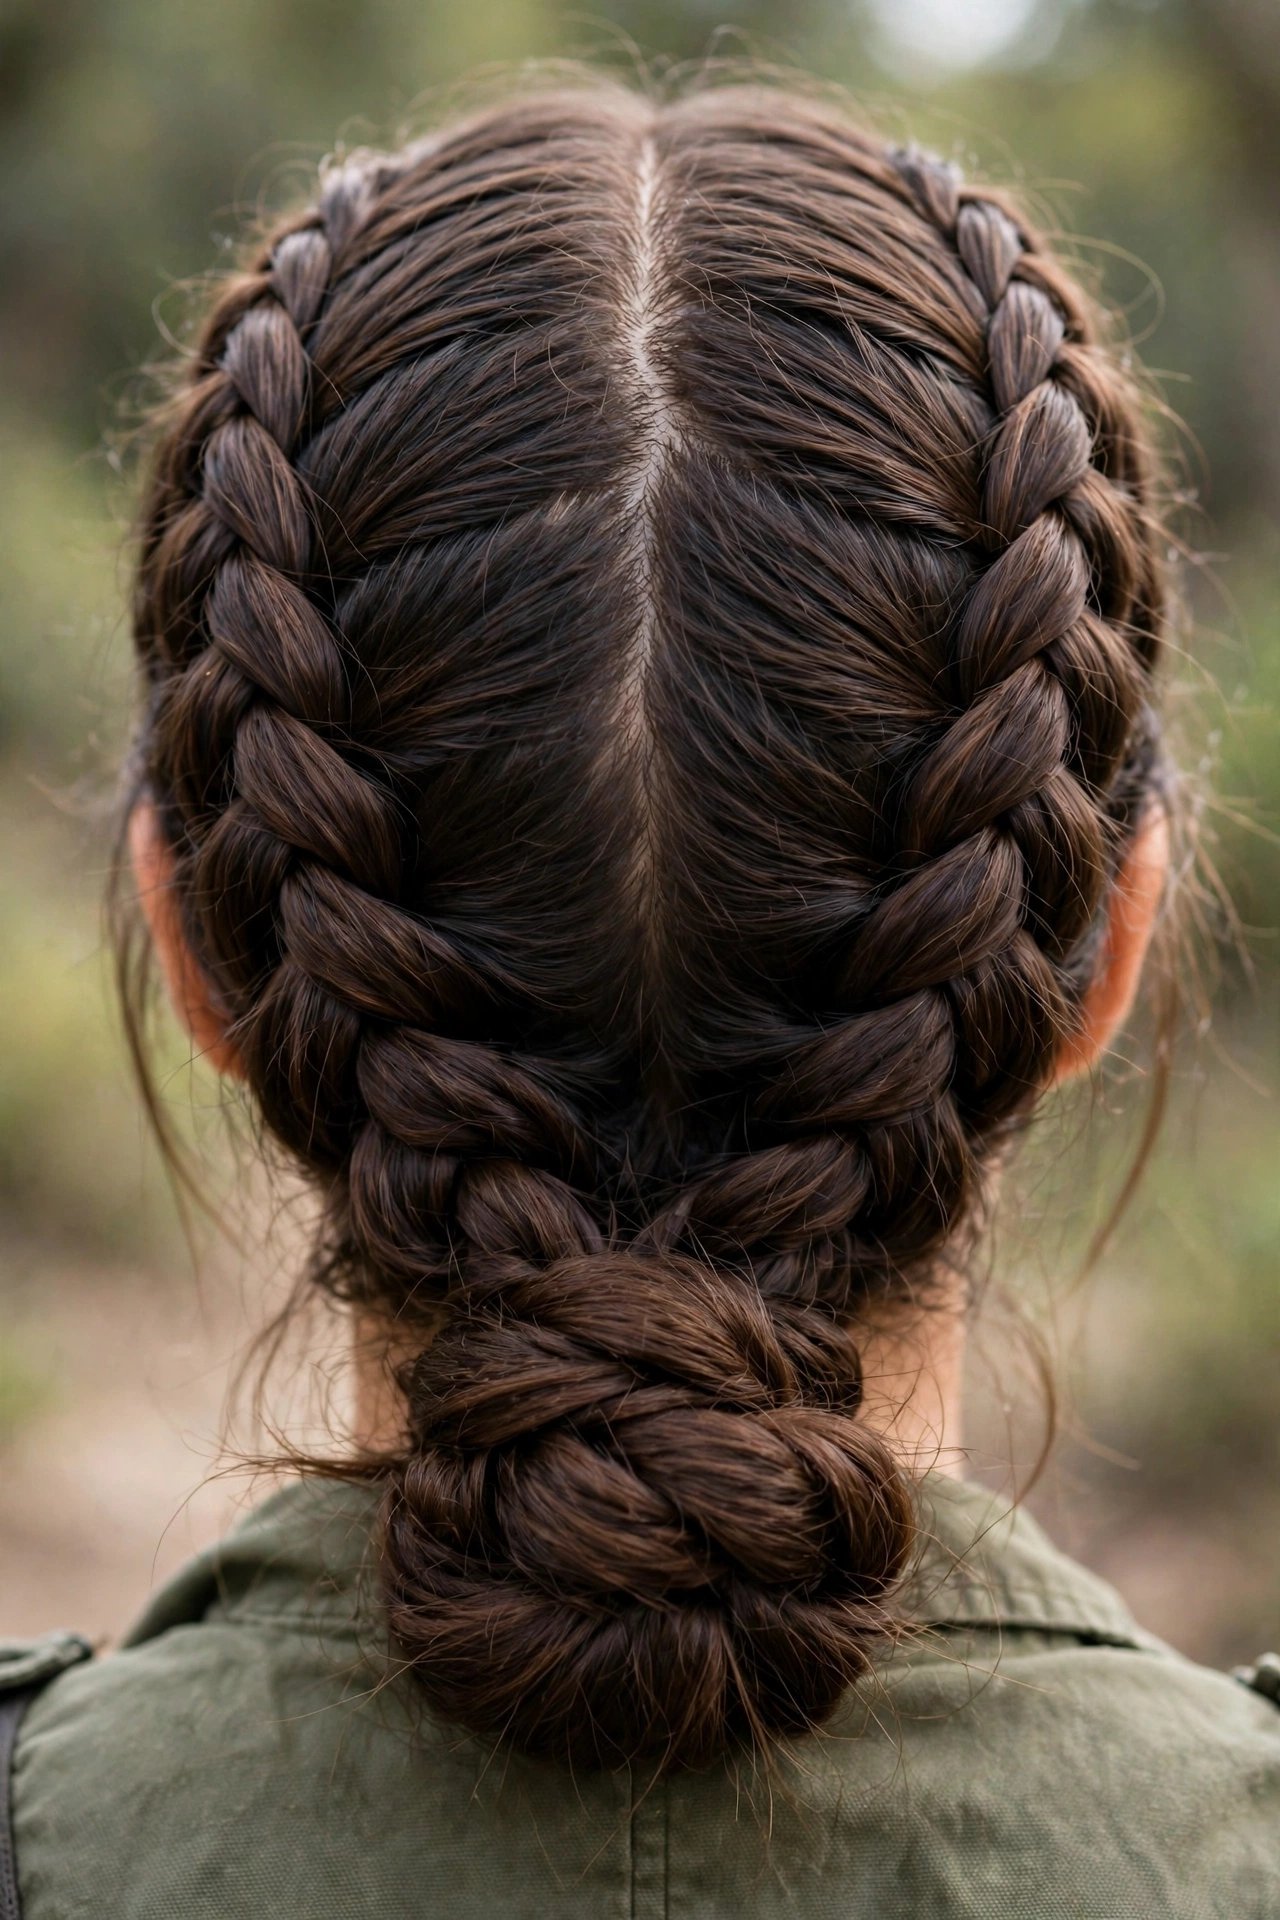
A chignon is simply a low, rounded bun near the nape, and this version gets its texture from two twists. Split your hair into two sections, twist each one away from your face, and cross them at the nape. Wrap them around each other and pin the ends underneath. Wavy and curly hair looks especially pretty in this style.
Twisted Side Bun
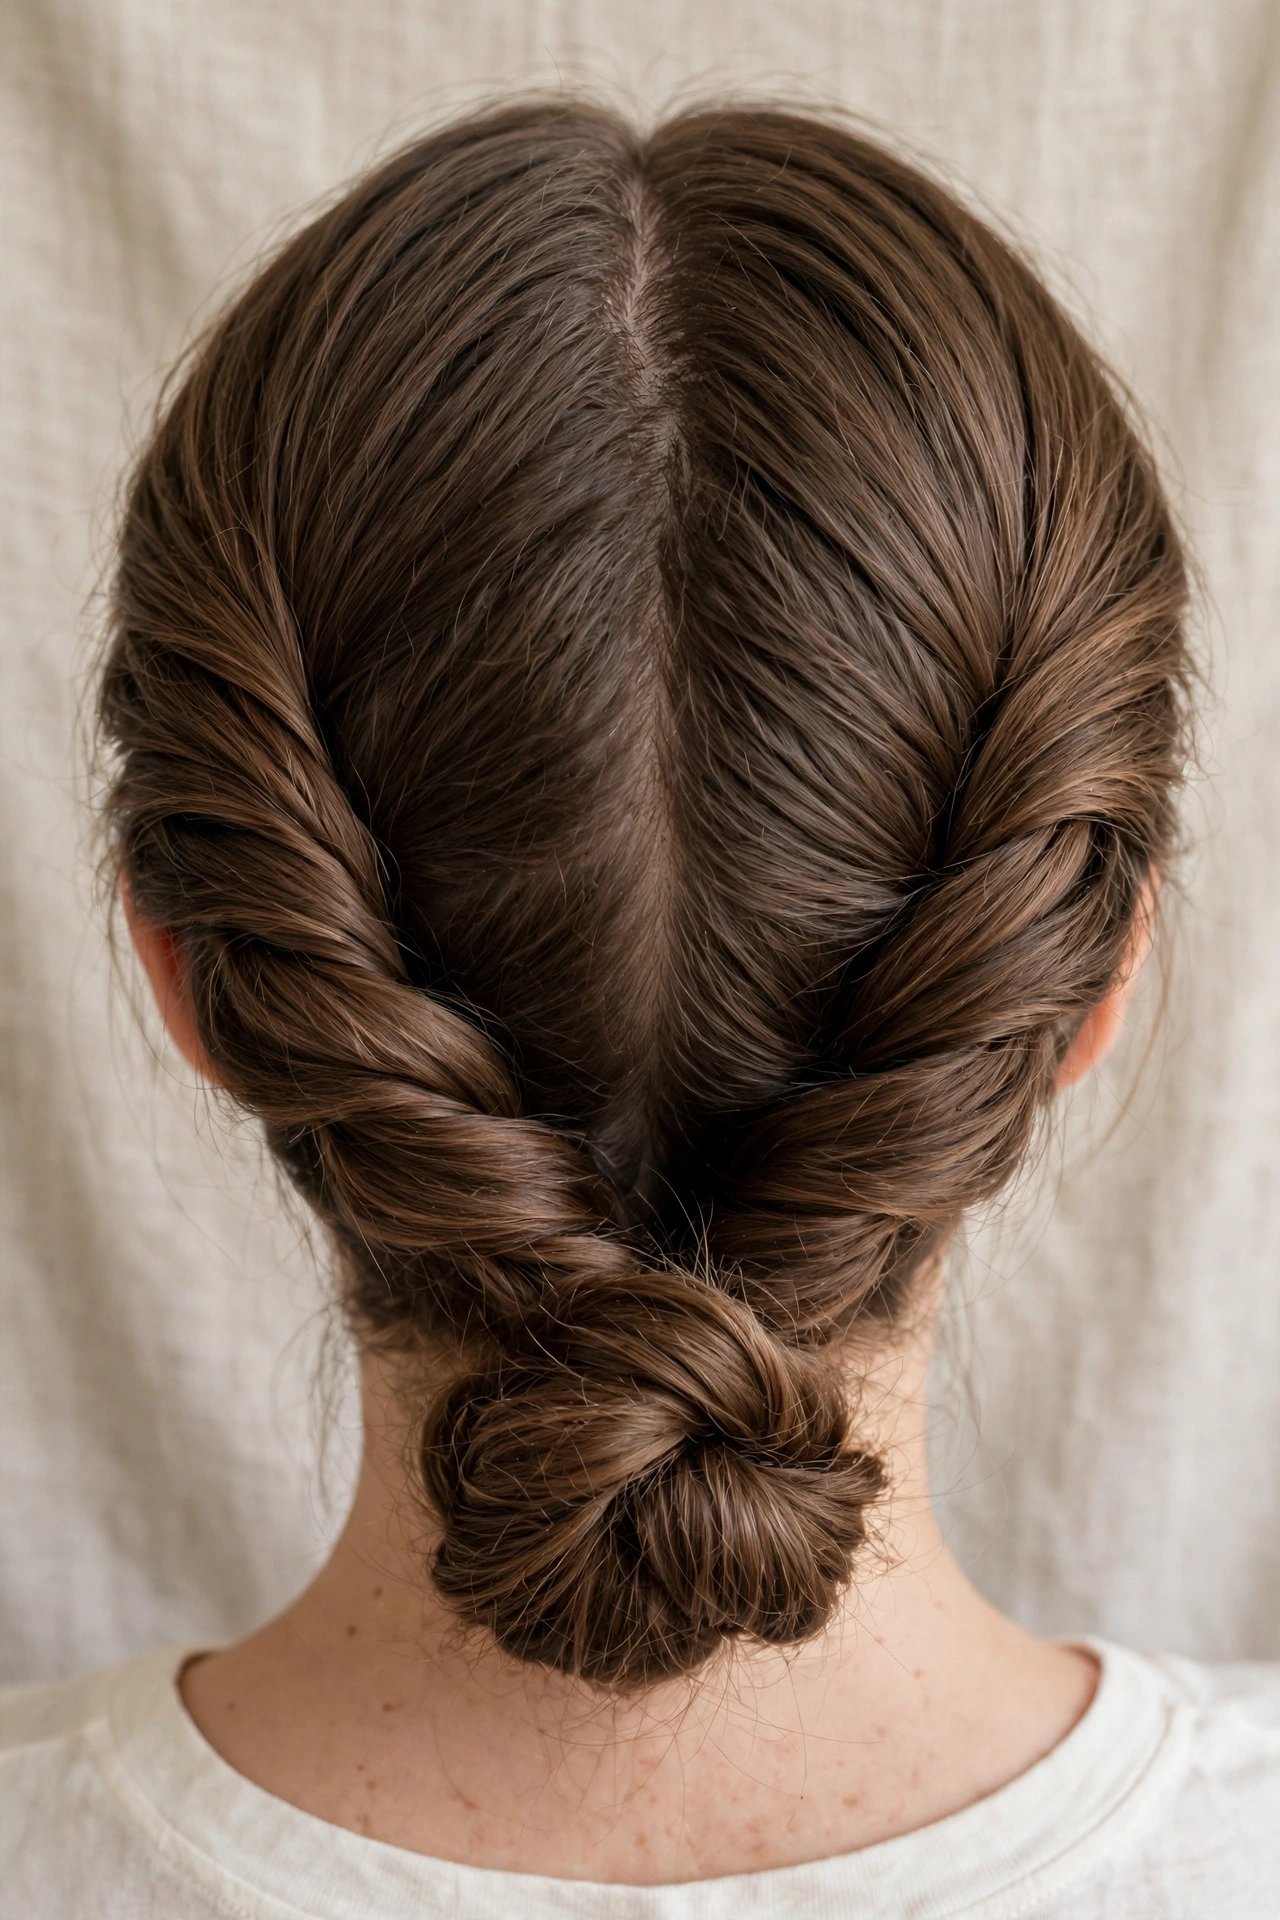
Moving a bun to the side feels fresh without adding any difficulty. Start with a deep side part and gather your hair low behind one ear. Twist it into a rope, coil the rope into a bun, and pin it. It pairs well with casual outfits and small events.
Half-Up Twisted Crown
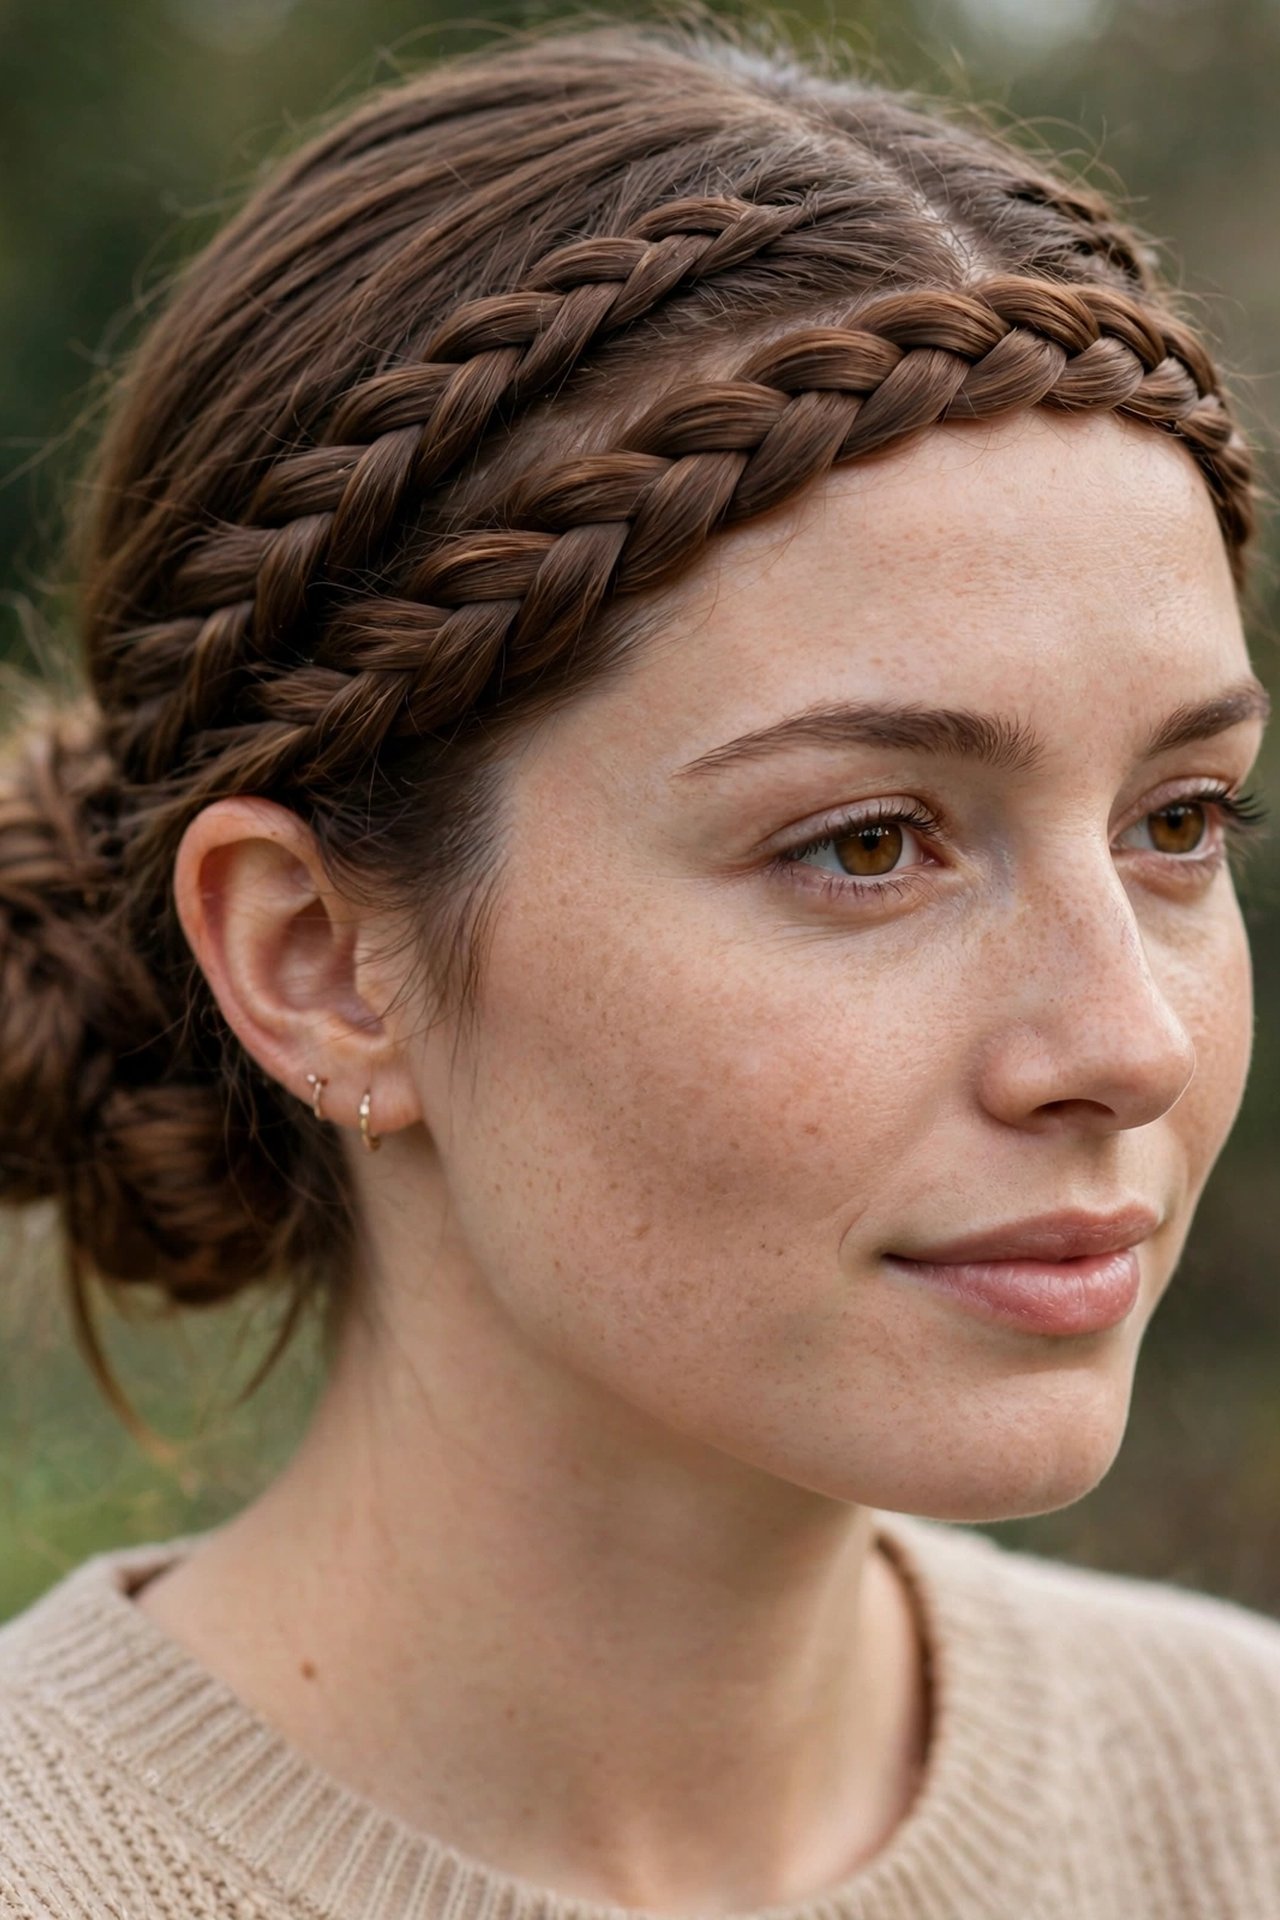
This style looks romantic and keeps hair off your face all day. Take a section from above one ear and twist it back toward the center of your head, then do the same on the other side. Pin the two twists together at the back and leave the rest down. Waves and curls give it extra charm.
Double Twist Low Bun
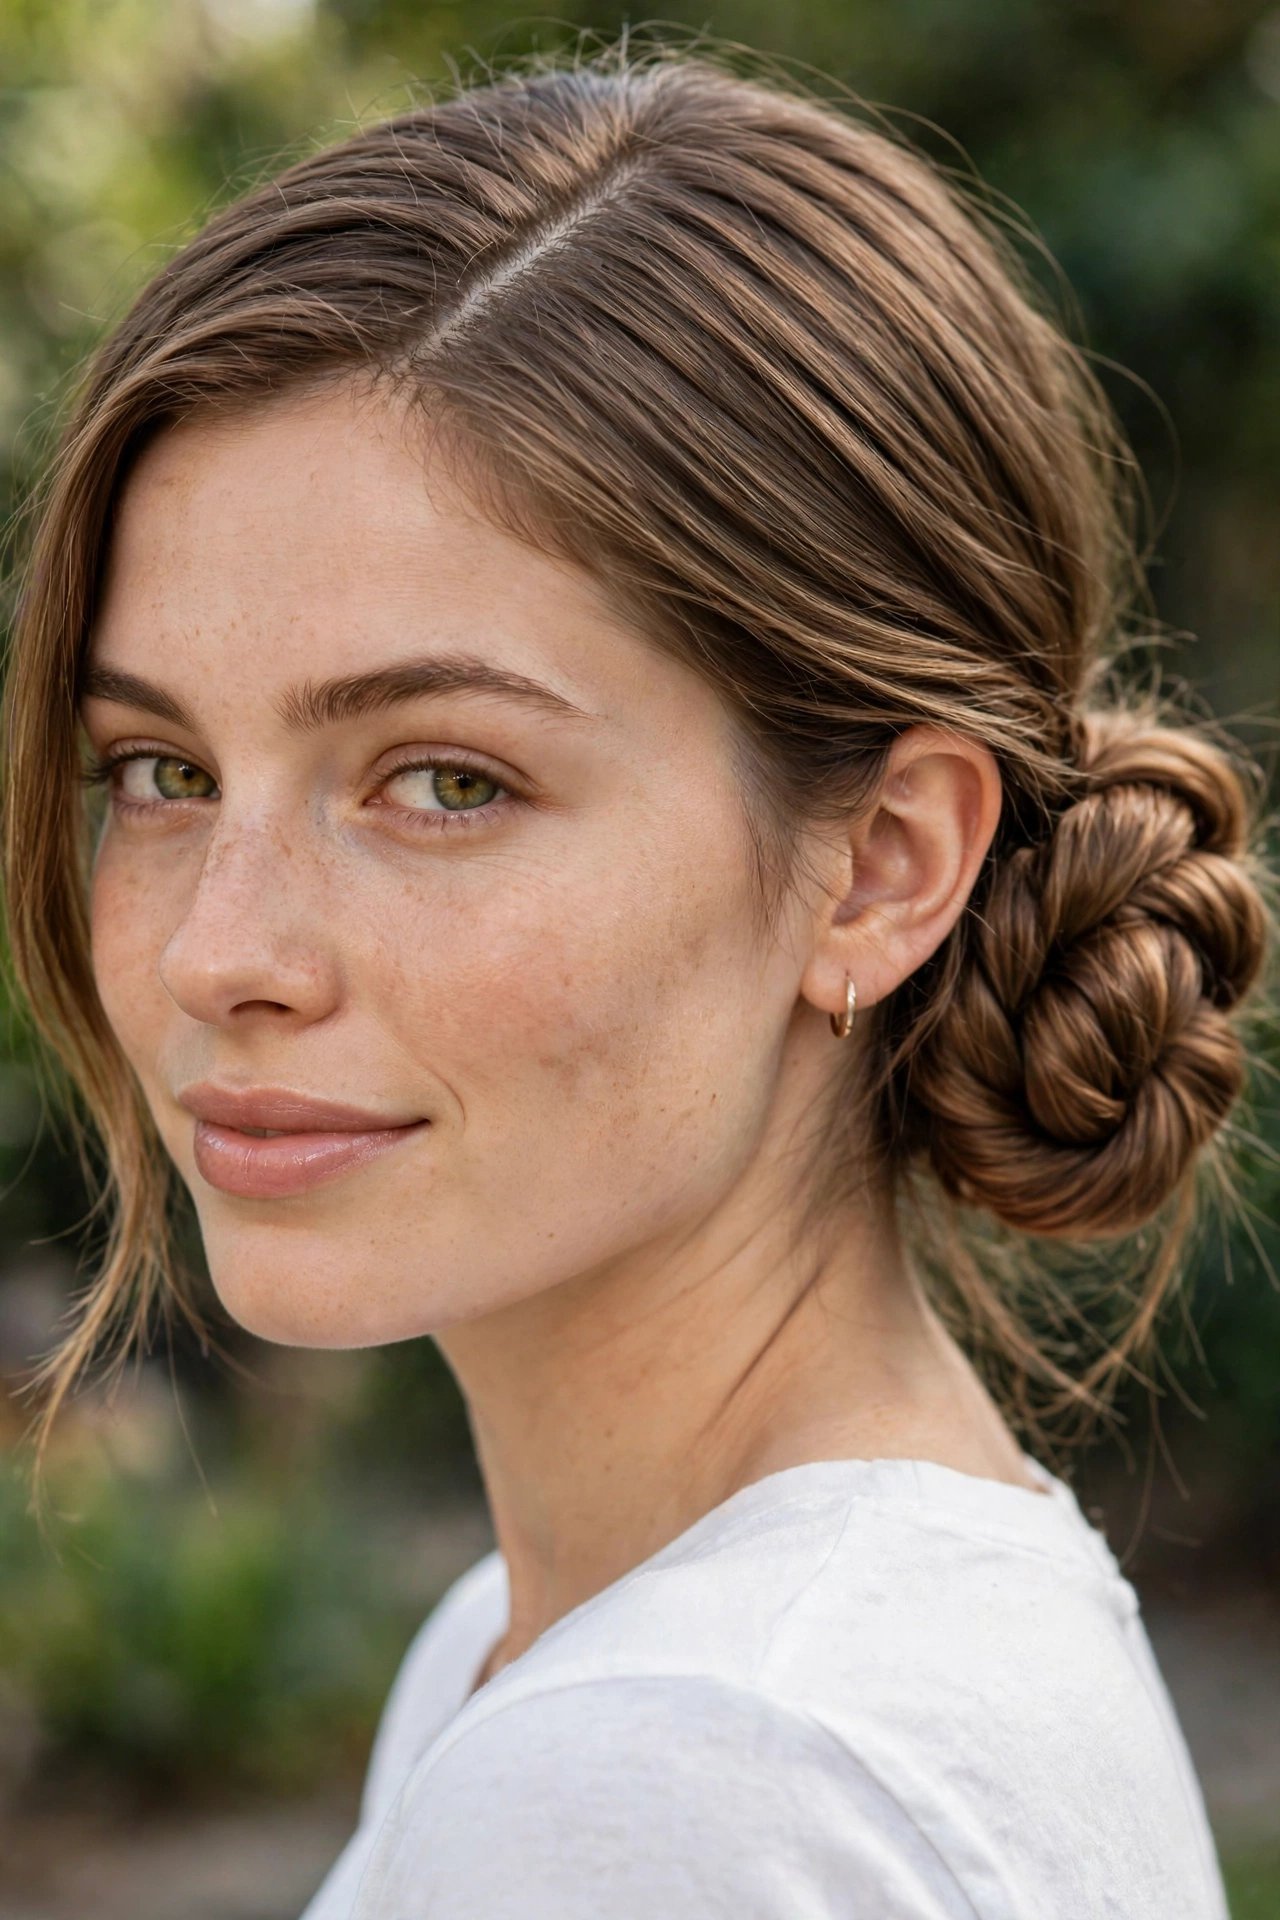
Here, two twists meet in one bun, which adds detail and catches shorter layers along the way. Part your hair down the middle at the back and twist each half firmly toward the nape. Tie both twists together with an elastic, then wrap the remaining length into a bun. Layered and thick hair both hold this style well.
Braided Updos
Braids add grip, which is why these styles tend to last the longest. If you can do a basic three-strand braid, you can manage most of them.
Dutch Braid Headband With a Low Bun
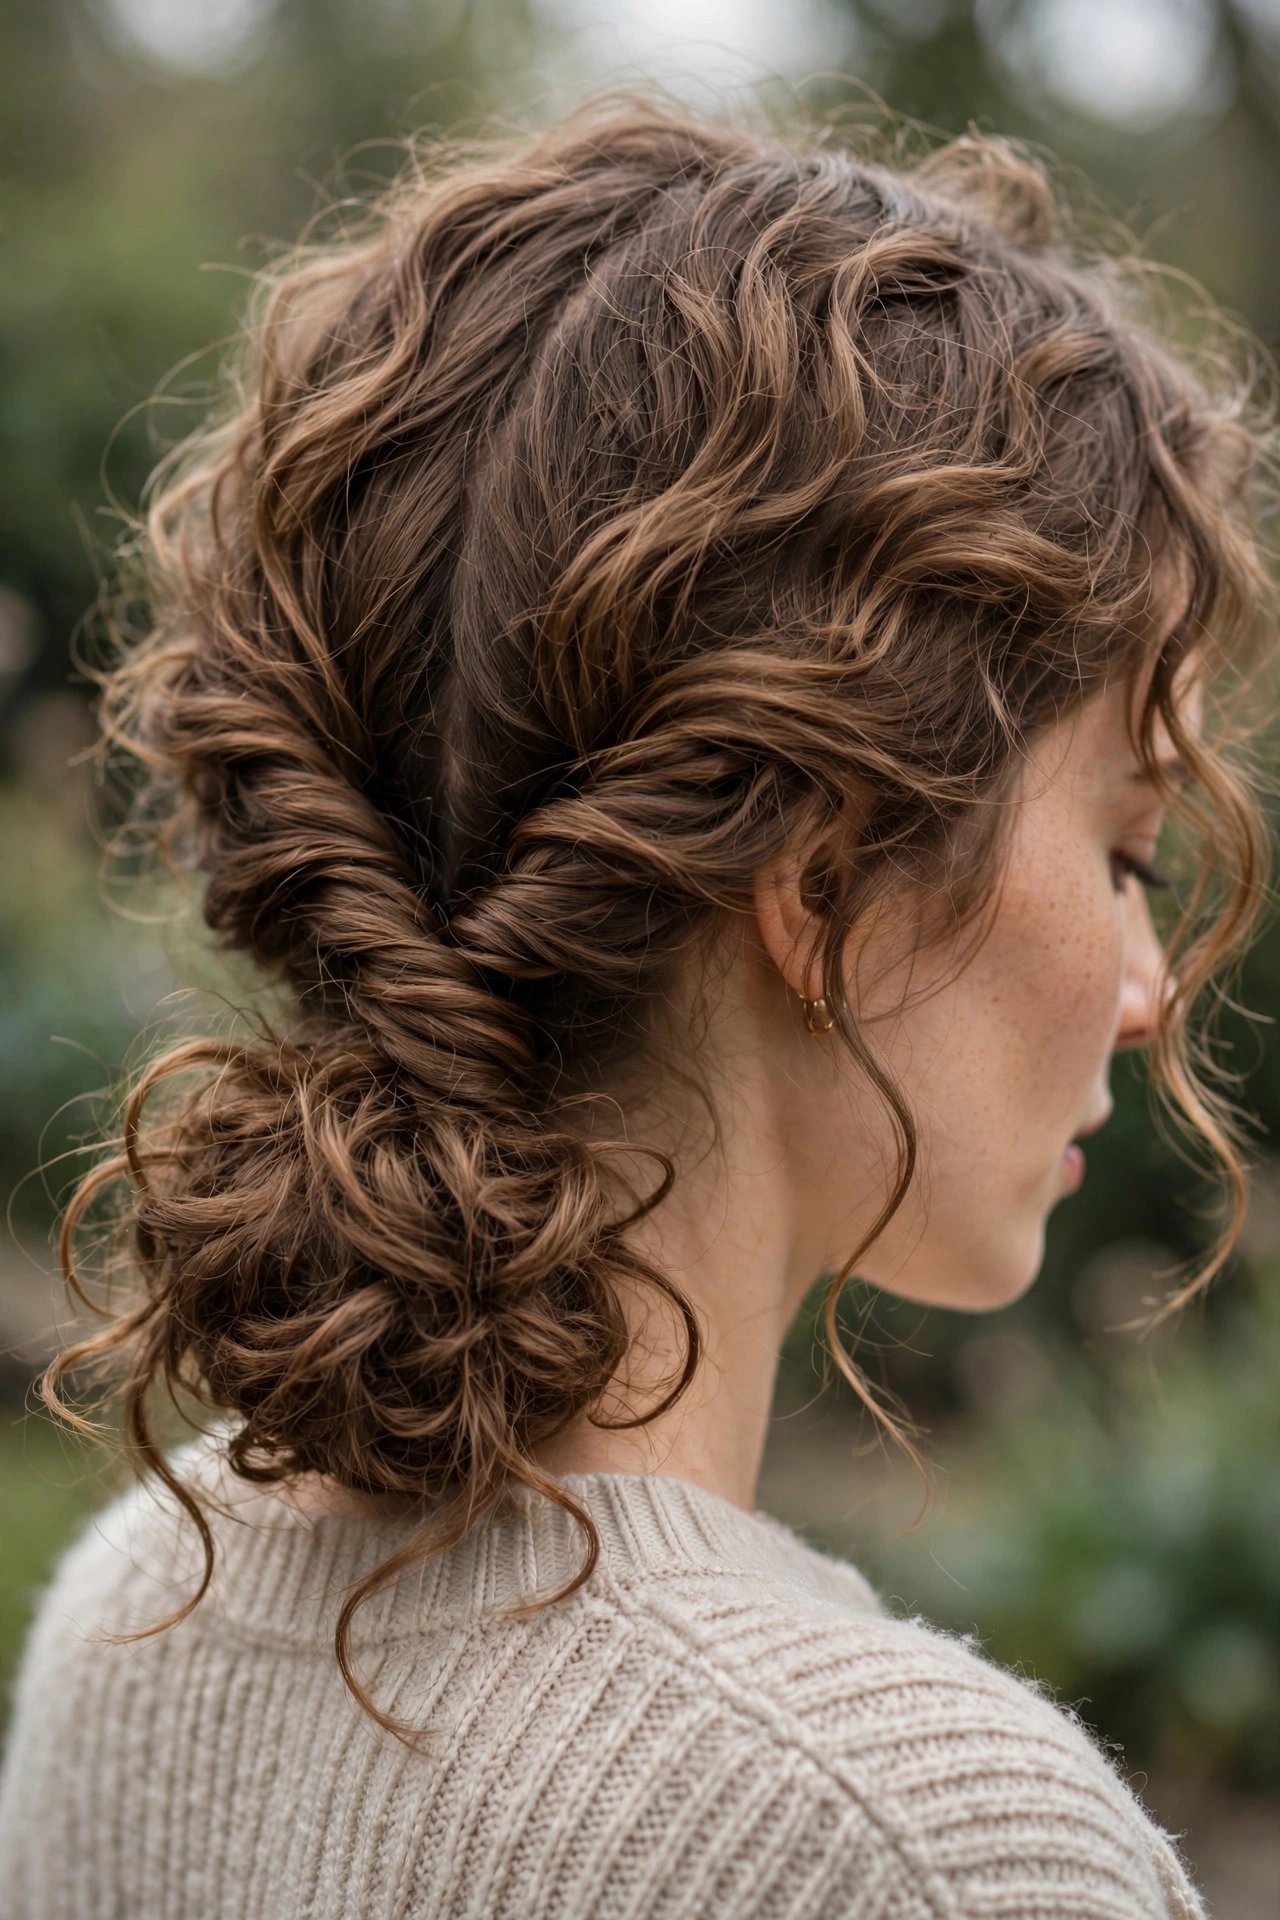
A braid across the front is a smart way to hide growing-out bangs and short front layers. Section off the hair at the front of your head, from ear to ear, and Dutch braid it across by crossing the strands under instead of over. Pin the end behind your ear. Then gather the rest of your hair, including the tail of the braid, into a low bun.
Two French Braids Into a Low Bun
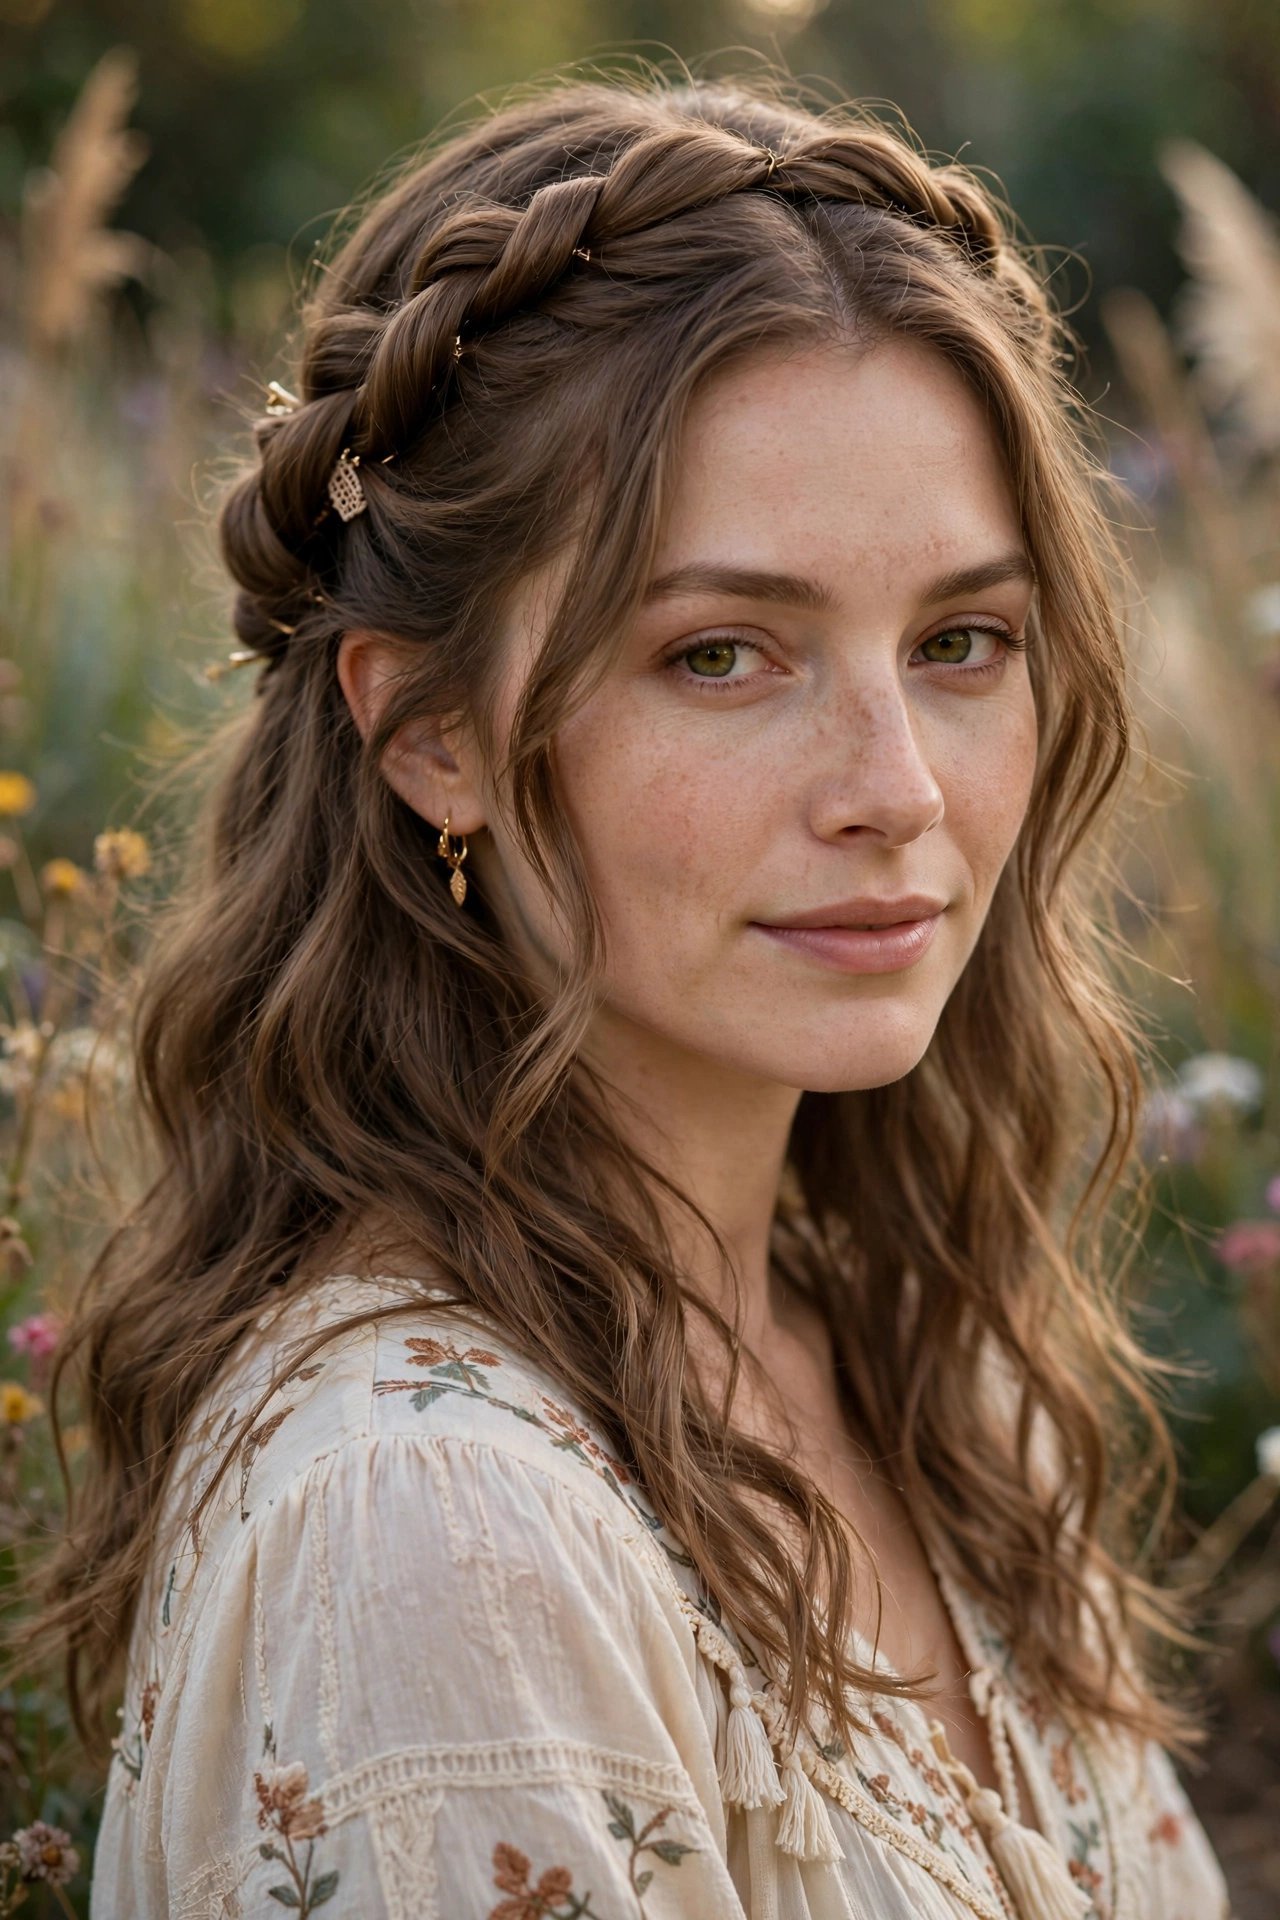
If you have a long day ahead or you’re traveling, this style is built to last. Part your hair down the middle and French braid each side back toward the nape. When you reach the nape, tie both sections together and twist the remaining hair into a bun. Thick hair especially benefits from the extra structure.
Side Braid Tuck
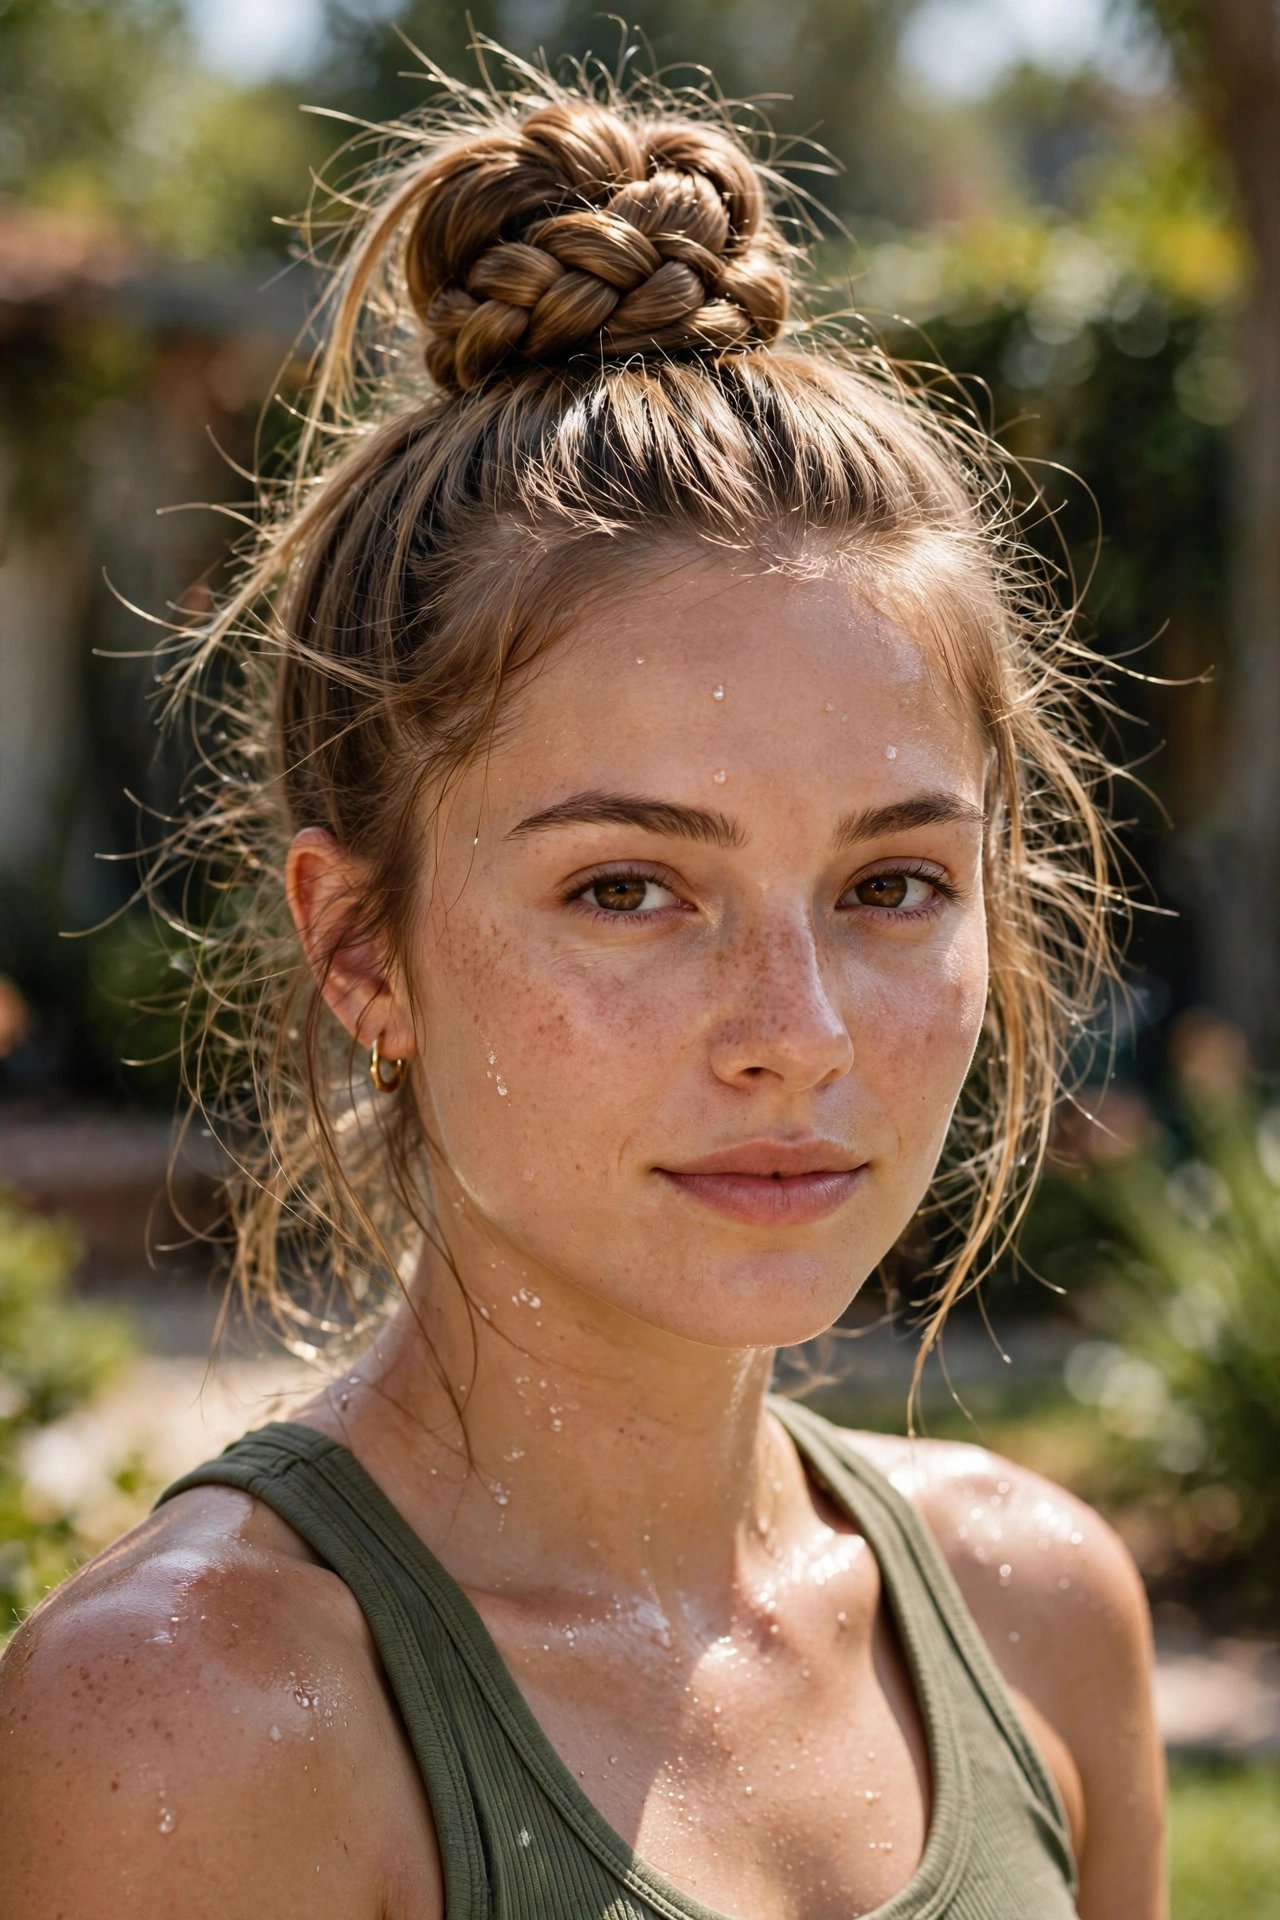
This soft style is ideal for days when you want some movement. Gather your hair over one shoulder and make a loose three-strand braid. Roll the braid upward behind your ear and pin it so it sits low on the side of your head. It feels relaxed and works best on wavy hair.
Braided Top Knot
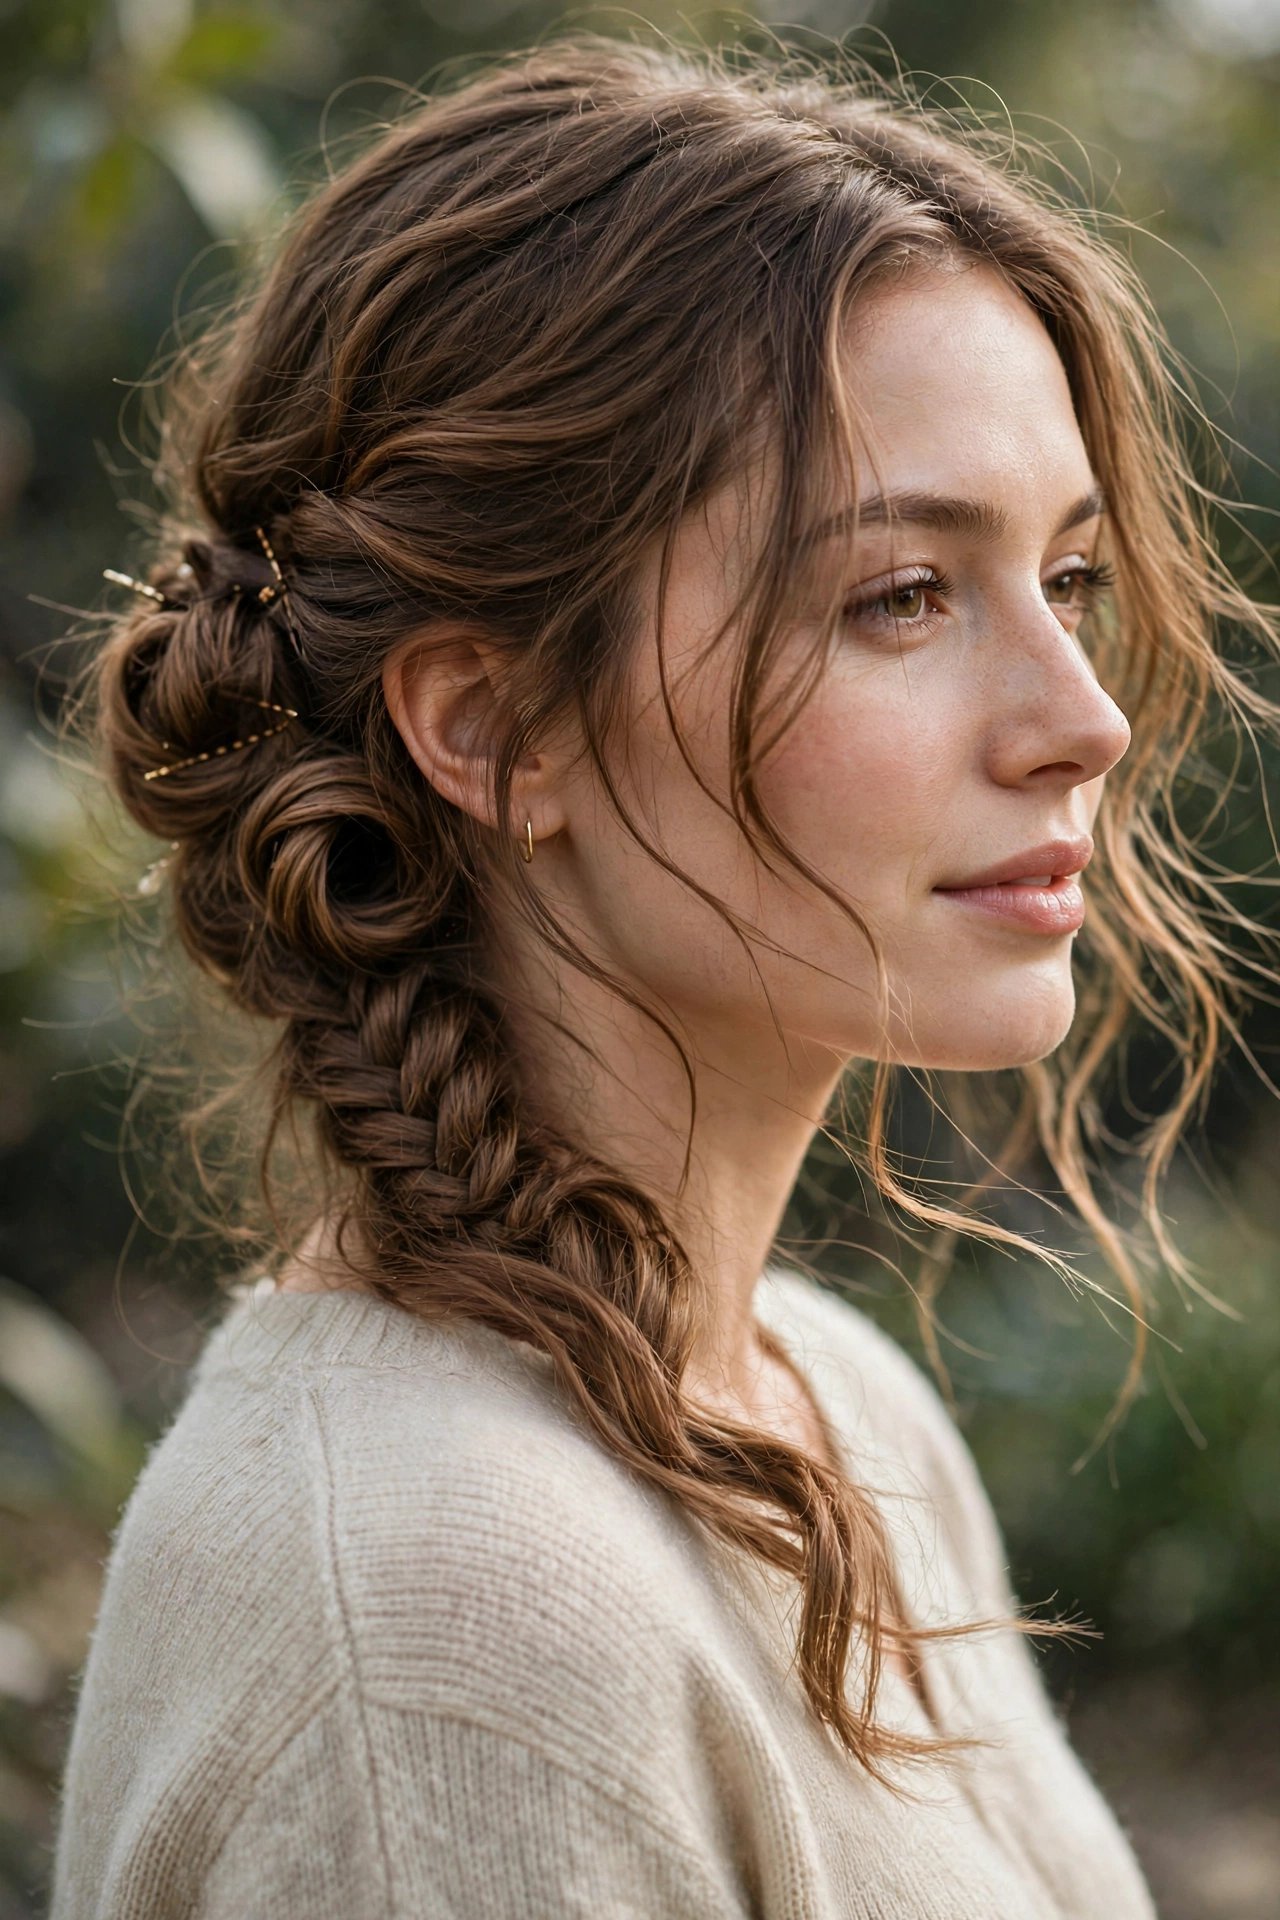
Braiding the ponytail first gives the bun built-in texture. Tie a high ponytail, braid it, and wrap the braid around the base before pinning it in place. The result looks more detailed than a plain top knot, and it holds up well in summer heat.
Updos With Accessories
Accessories make basic styles feel finished, and they’re great at hiding imperfect pinning.
Scarf-Wrapped Bun
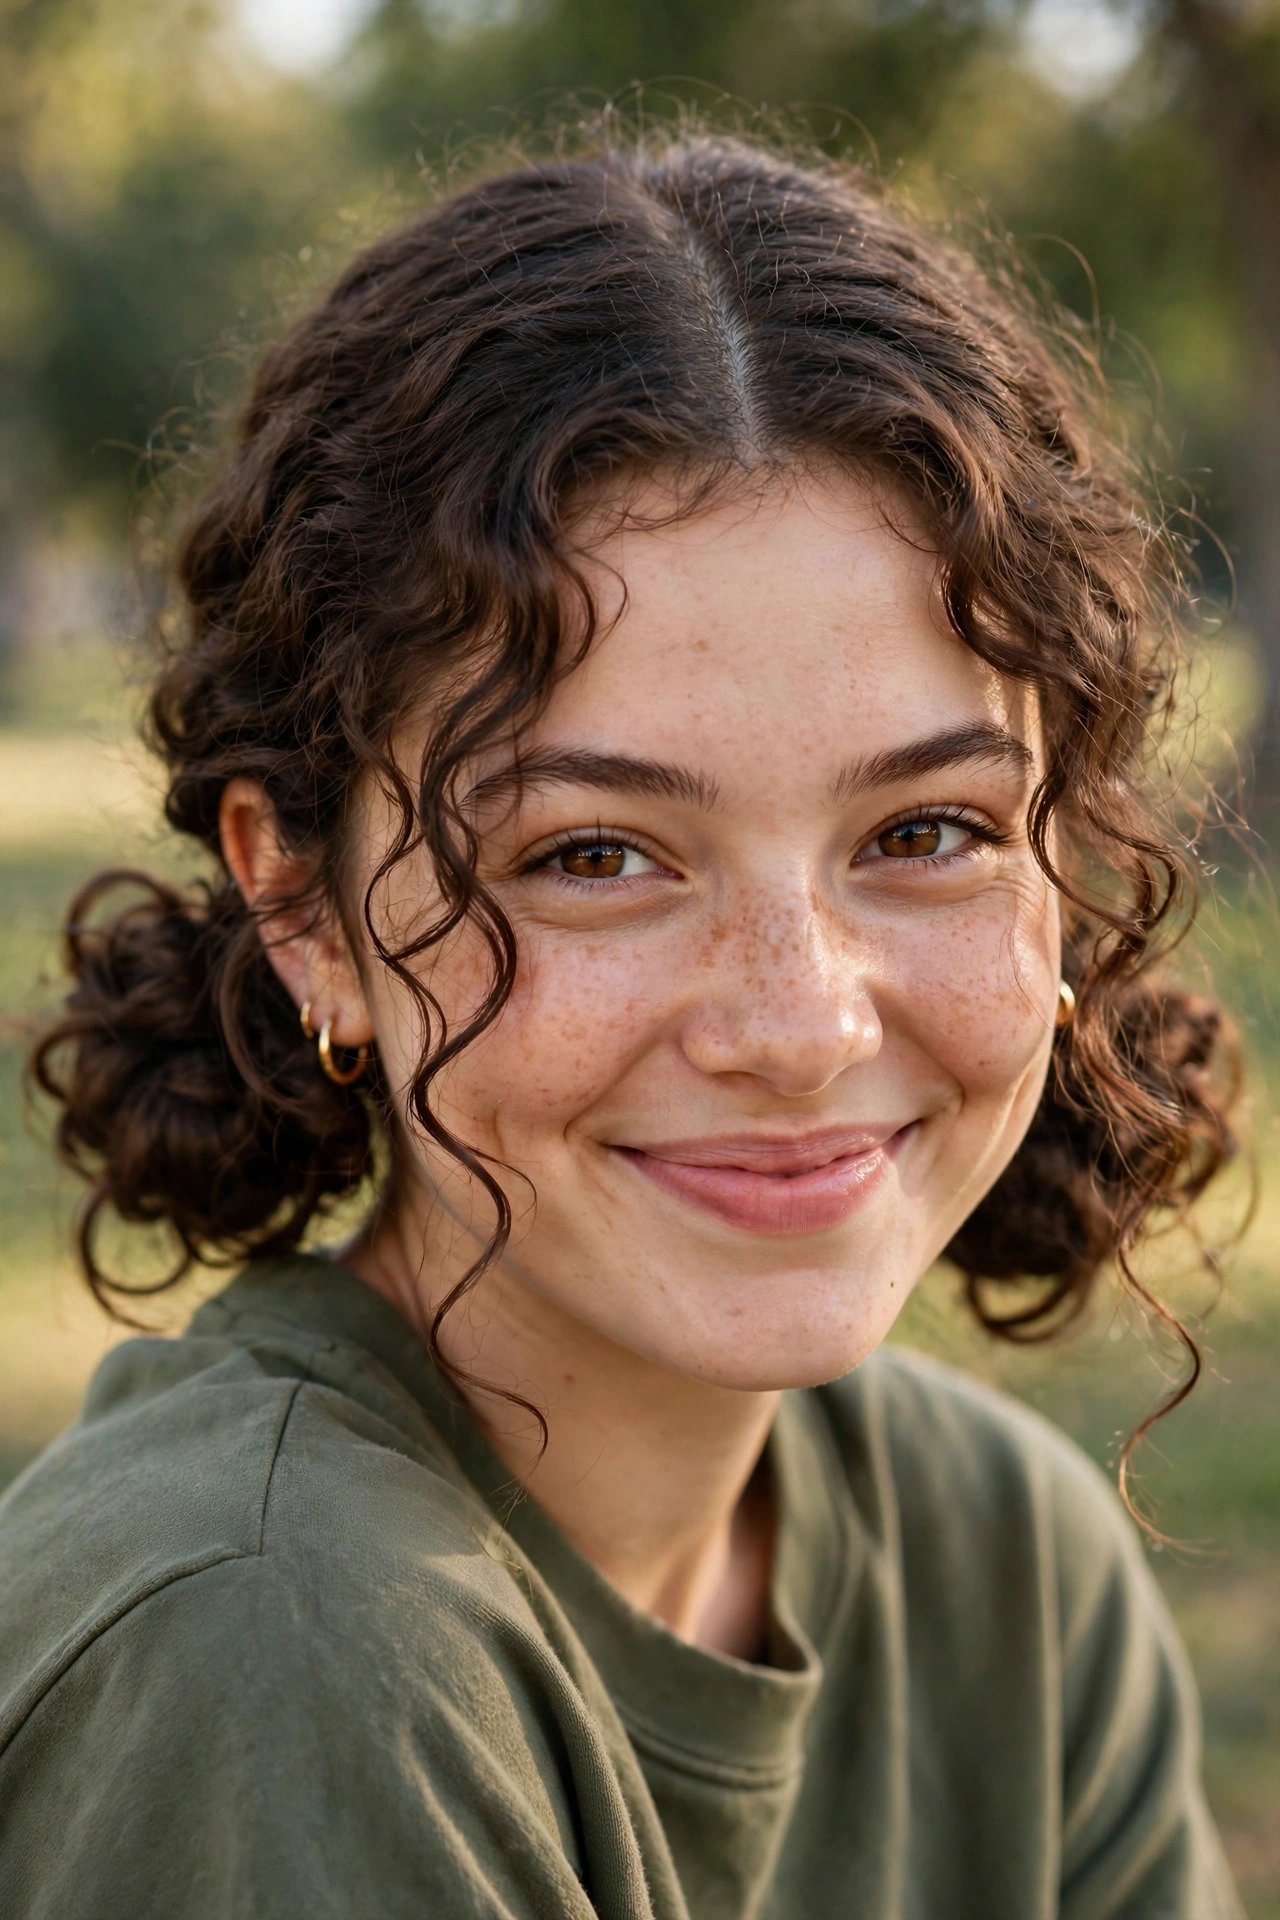
On a rushed morning, a scarf can turn a messy bun into a deliberate look. Make a simple low or mid-height bun, fold a silk or cotton scarf into a long strip, and wrap it around the base. Tie it in a knot or a bow and tuck the ends in. It’s perfect for bad hair days and vacations.
Ribbon Low Bun
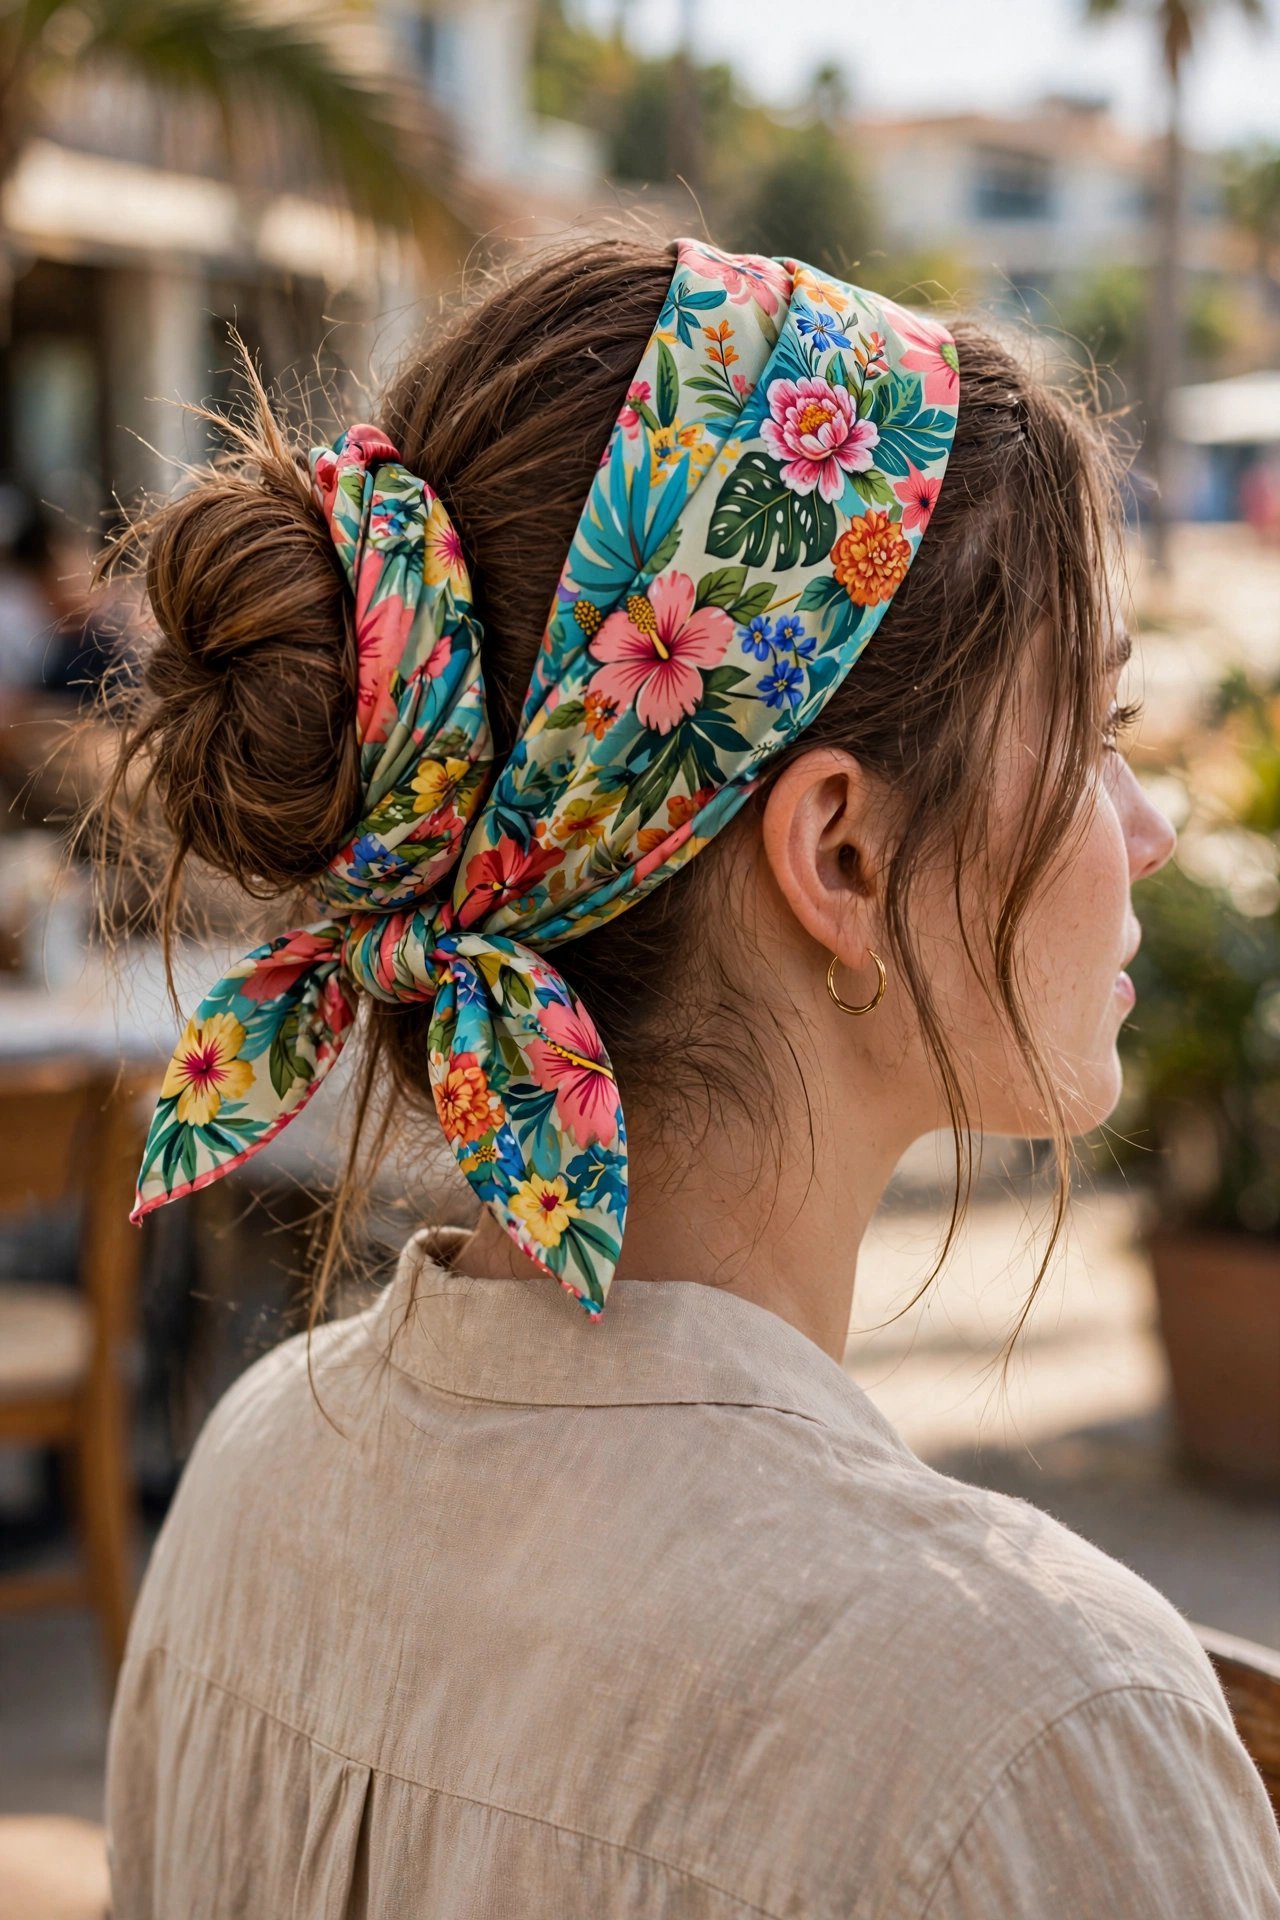
A ribbon instantly makes a plain bun look more thoughtful. Create a low bun at the nape, tie a velvet or satin ribbon around the base, and finish it with a bow. Trim the ends if they hang too long. It suits work, brunch, and small events equally well.
Low Double Buns
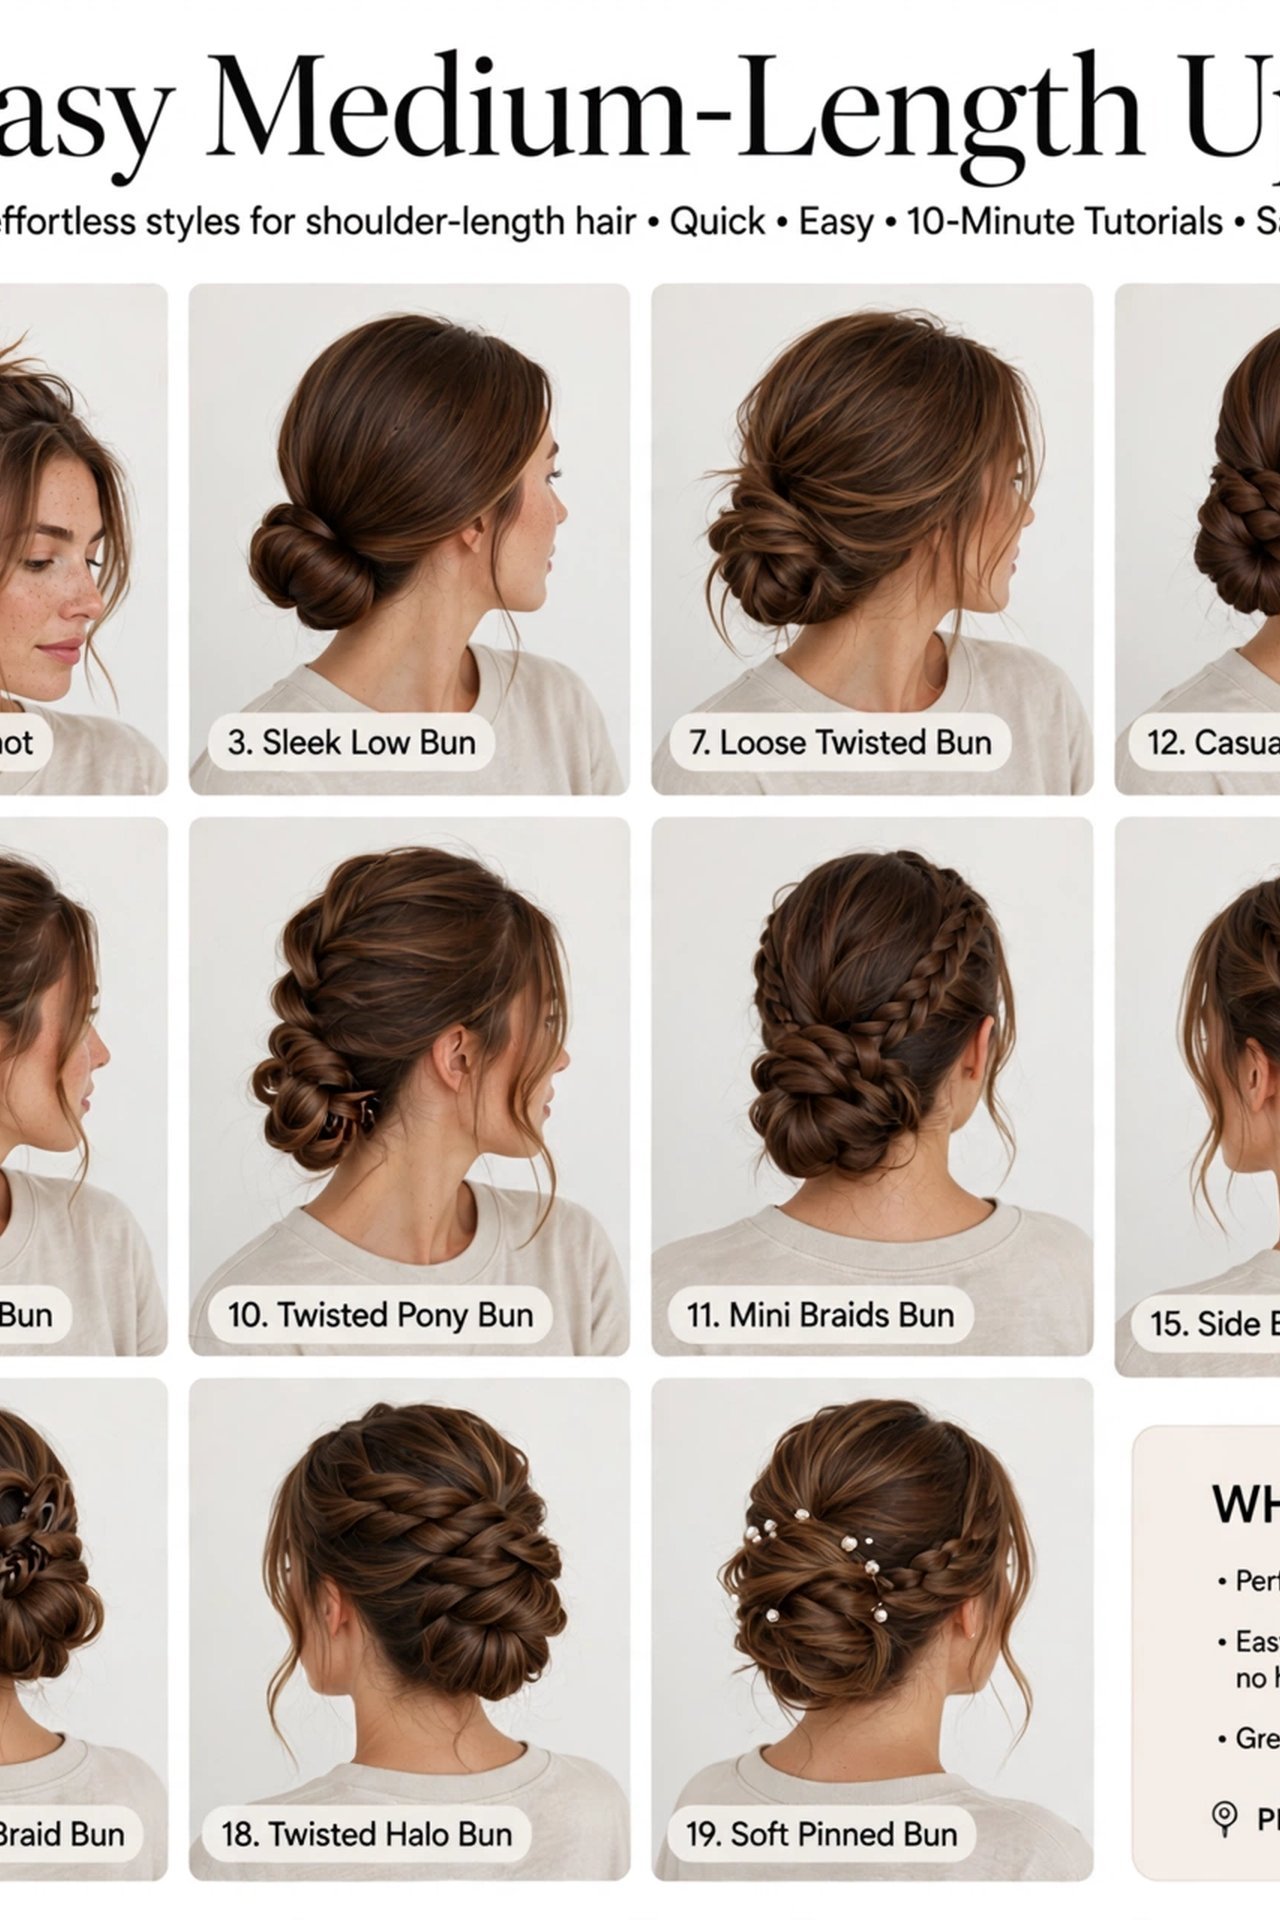
This playful style is easy on medium hair because each bun only uses half of your hair. Part your hair down the middle from front to back and tie two low ponytails behind your ears. Twist each one into a small bun and pin it, then loosen a few strands around your face. Curly hair looks lovely in this style.
How to Choose the Right Updo for Your Hair Type
Not every style suits every texture, and knowing your hair type can save you some frustration.
Fine hair does best with small, sleek buns like the knotted bun or the sleek low bun. Texture spray gives it more grip, and gently pulling at the edges of a bun makes it look fuller.
Thick hair is easier to manage with claw clips, braided buns, and French braids, since these handle bulk well. Strong elastics and a few extra pins help carry the weight.
Curly and coily hair suits low chignons, twisted crowns, and double buns, which let the natural texture shine. Brushing curls when they’re dry usually causes frizz, so it’s better to style with moisture and let your curl pattern shape the look.
Straight, silky hair looks beautiful in sleek buns, but it tends to slip. Second-day hair or a little dry shampoo will help it stay put.
How to Keep Short Layers From Falling Out
Layers are the biggest challenge with medium hair. Twisting or braiding near the face is the simplest fix, because twists pick up shorter pieces as you go.
Working with two sections instead of one also helps. Styles like the double twist bun catch layers far better than a single ponytail does. For the few pieces that still escape, small bobby pins or mini clips can hold them in place. And sometimes the best solution is to let a few strands fall on purpose, since soft face-framing pieces often look intentional.
Keep Your Everyday Updos Gentle on Your Hair
Wearing the same tight style every day can pull on your hair and scalp. Dermatologists link repeated tight styles to a type of hair loss called traction alopecia, so a little care goes a long way.
Keep ponytails and buns loose enough that your scalp feels comfortable, and change where your bun sits from day to day. Soft elastics or scrunchies are kinder to hair than rubber bands. It also helps to take your hair down at night. If a style ever causes pain or a headache, loosen it right away.
FAQs
Can you do an updo with shoulder-length hair?
Yes. The claw clip twist, half-up top knot, headband tuck, and low double buns all work well on shoulder-length hair. If your hair just reaches your shoulders, choose styles that use smaller sections.
Why does my updo keep falling apart?
The most common reasons are slippery clean hair, weak pinning, and too much weight in one bun. Adding dry shampoo or texture spray first, pinning with the wavy side down, and anchoring pins into both the bun and your scalp usually solves the problem.
What is the easiest updo for beginners?
The claw clip twist is probably the easiest. The messy top knot and the half-up top knot are also simple and forgiving.
How do I make a bun look bigger with medium hair?
Gently tease the ponytail before twisting it, then pull at the edges of the bun once it’s pinned. A donut bun shaper can also add volume if you want a very full look.
Are updos bad for your hair?
Updos aren’t harmful on their own. Problems usually come from styles worn too tightly or in the same spot every day. Loose styles and gentle hair ties help protect your hair.
Which updos work best for layered medium hair?
Twisted and braided styles work best because they catch shorter layers as you go. The double twist low bun, the half-up twisted crown, and the Dutch braid headband are all good choices.
Can I sleep in an updo?
It’s better not to sleep in a tight updo. If you want to protect your hair overnight, a loose, high bun tied with a soft scrunchie is a gentler option.